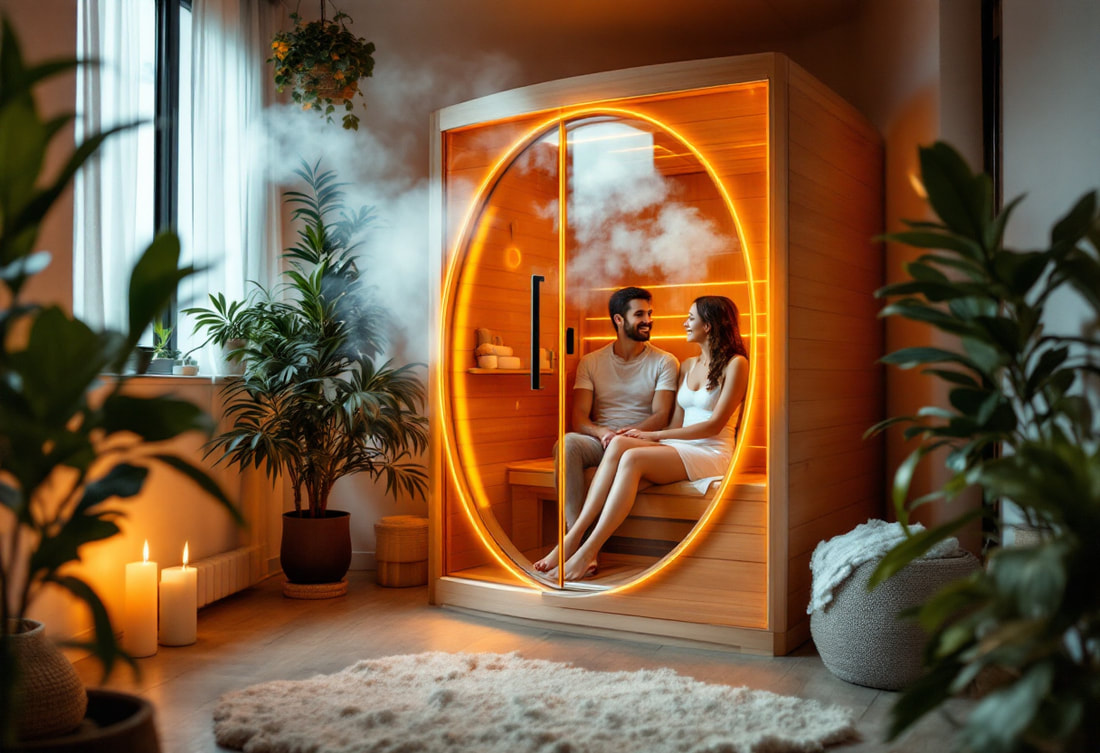
Need a sauna installation technician? Simple steps to find the perfect professional nearby.
Alright, let me tell you about putting together that sauna room the other day. It wasn’t exactly rocket science, but it took some doing.
First off, the delivery dropped off this huge pallet. Boxes stacked high. Had to wrestle those things inside, piece by piece. Felt like I’d done half the work already just getting it into the garage where I planned to set it up. Good thing I cleared space beforehand, otherwise, it would’ve been a real mess.
Getting Started
So, I started unpacking. Lots of wood panels, some glass for the door, a heater unit, rocks, benches… the whole shebang. Laid everything out so I could actually see what I was dealing with. Checked the parts list against the instructions, made sure nothing was missing. Looked okay, thankfully.

The instructions were mostly pictures, kinda like that furniture stuff you buy. Started with the floor piece. That was simple, just placed it down flat where the sauna was gonna live. Made sure it was level, super important apparently.
Putting Up the Walls
Then came the walls. These big wooden panels. They had these grooves, supposed to slot together. The back wall went up first, then the side walls. Had to kinda hold one up while grabbing the next one. A bit clumsy doing it alone, not gonna lie. There were these metal buckle things, latch mechanisms, you had to snap them closed to lock the panels tight. Took a bit of fiddling to get them aligned right. Getting those corners tight was key. You don’t want gaps, right?
Once the main walls were up, it started looking like an actual room. Felt pretty good seeing that.
- Slotted the back panel onto the floor base.
- Lifted and positioned the side panels one by one.
- Jiggled them until they fit snugly into the grooves.
- Fastened the buckle latches connecting the panels. It took some muscle sometimes.
Bench, Heater, and Door
Next up was the inside stuff. The bench supports needed screwing into the wall panels. Found the pre-drilled holes, lined ’em up, drove the screws in. Then placed the bench tops onto the supports. Simple enough.
The heater needed mounting too. Had to figure out the right spot based on the instructions, mark the holes, drill ’em, and bolt the heater bracket securely to the wall. Then hung the heater unit itself. Made double sure that thing was solid. Don’t want the heater falling off, obviously. The wiring part, I left that for a proper electrician later. Messing with high voltage? Not my area of expertise, better safe than sorry.
Then the ceiling panel went on. Had to lift that big piece overhead and carefully lower it onto the top edges of the walls. Fit pretty well. Secured it following the steps.
Finally, the glass door. Hung that on its hinges. Adjusted it a bit so it swung nice and closed properly against the seals. Put the wooden handle on. Stepped back and looked. Yeah, looked like a sauna.
Finishing Touches
Last bits were putting the heater guard around the heater – just a wooden fence thing for safety – and pouring the sauna rocks into the heater tray. Also put in the floor boards, the little duckboard things you stand on.
So yeah, that was basically it. Took a good chunk of the afternoon. Lots of lifting, positioning, and fastening. But seeing it standing there, ready to go (well, almost, needed the electrician hookup), felt pretty satisfying. Did it all myself, step by step.
