What are the real benefits of owning a home sauna? Discover the health advantages today.
Getting the Idea
So, I got this idea stuck in my head – wanted a sauna right here at home. Sick of driving to the gym just for that. Thought, how hard can it be? Decided to just jump in and figure it out as I went along.
Picking the Spot and Planning (Sort Of)
First up, needed a place for it. Looked around. Got a decent corner in the basement that wasn’t doing much. Measured it out, seemed big enough for a couple of people. Didn’t do fancy blueprints, just sketched out a basic box shape on some paper, figured out where the door and benches might go. Good enough.
Gathering the Stuff
Next was getting the materials. This took a couple of trips.
- Lots of wood studs for the frame. Just standard 2x4s mostly.
- Insulation. Got that pink fluffy stuff, figured more is better to keep the heat in.
- Wood for the inside walls. Went with cedar. Smelled nice, and people said it’s good for saunas. Lots of tongue-and-groove planks.
- The heater. Found an electric one that seemed about the right size for the space I built. Had to make sure the wiring could handle it.
- Sauna rocks. Bag of ’em.
- Wood for the benches. More cedar, thicker stuff this time.
- A door. Found a simple glass one made for saunas.
Loading all that wood was a workout in itself.
Building the Box
Okay, construction time. Started by building the frame. Measured the studs, cut them with my saw, screwed them together to make the walls. Put up the ceiling joists too. Felt pretty solid once the basic skeleton was up.
Then came the insulation. Started stuffing it between all the studs in the walls and ceiling. Bit itchy, should’ve worn longer sleeves maybe. Packed it in there good and tight.
Wiring and Walls
Had to run the electrical wire for the heater before closing up the walls. This part’s important, had an electrician buddy double-check my plan just to be safe. Didn’t want any surprises later. Got the special high-temp wire run to where the heater would mount.
After that, started putting up the cedar paneling inside. This took ages. Cutting each plank to fit, making sure the tongue slid into the groove, nailing them carefully so you wouldn’t see the nails much. Started from the bottom and worked my way up. Walls, then the ceiling. The smell of cedar started filling the basement. Nice.
Benches, Door, and Heater
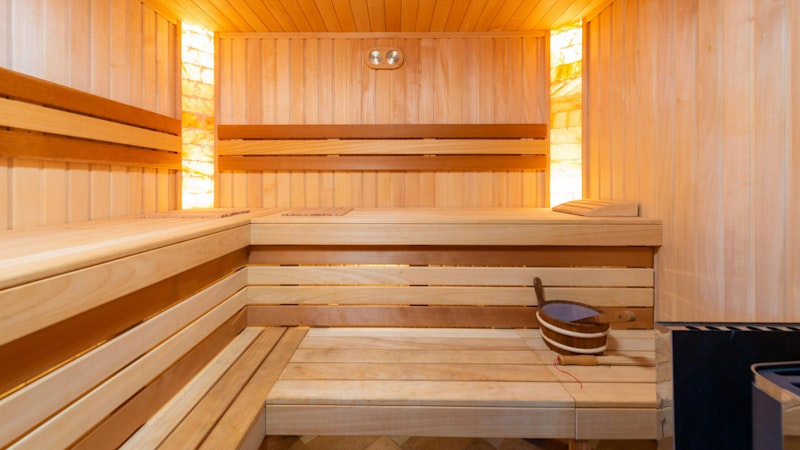
Once the inside was paneled, I built the benches. Simple design, like two steps. Measured, cut the thicker cedar, sanded it smooth, screwed it together, and mounted it to the walls. Made sure they felt strong.
Fitting the door was next. Had to build a frame for it, make sure it was plumb, and then hang the door itself. Adjusted the hinges until it swung nice and closed tightly.
Mounted the heater to the wall where the wiring was waiting. Followed the instructions that came with it. Connected the wires. Then piled the sauna rocks carefully on top and around the heating elements.
First Heat-Up!
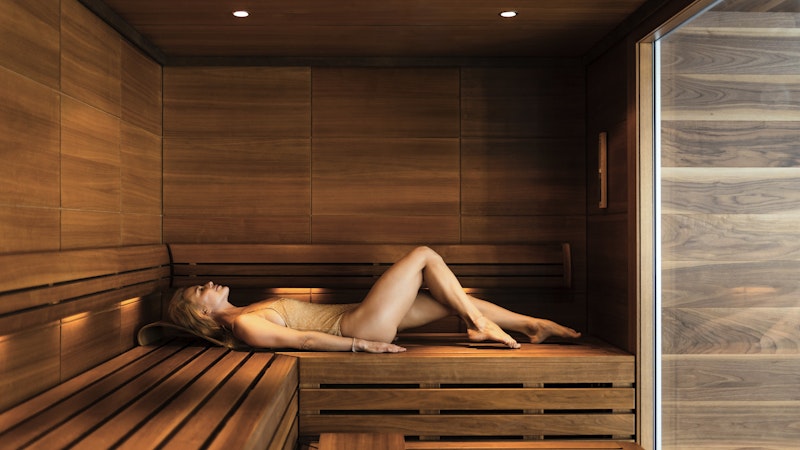
Cleaned up the sawdust mess. Double-checked everything looked okay. Then, the moment of truth. Flipped the breaker back on, turned the heater dial… and waited. Watched the thermometer I stuck inside. Slowly started climbing. Took a while the first time. Once it hit a decent temperature, I threw a little water on the rocks. Ssssst! Yep, that’s the stuff. Stepped inside. Success! Felt amazing after all that work. It’s not perfect, maybe a few gaps here and there if you look close, but it gets hot, it makes steam, and it’s mine. Been using it nearly every other day since.
