DIY sauna room making explained: Get your dream sauna with these basic building secrets.
Alright, so I finally did it. Built my own sauna. It’s been on my mind for ages, you know, that dream of having a hot box to sweat out the day’s nonsense. Took a fair bit of doing, and I figured I’d share how it all went down, from start to finish. It wasn’t all smooth sailing, let me tell you, but we got there.
Getting Started and Figuring Things Out
First off, I had to decide where this thing was going to live. My backyard had a spot that looked promising, a bit of a neglected corner. Cleared out a load of old pots and random garden junk. That itself was a workout. Then, the base. You can’t just chuck it on the grass, right? So, I went with concrete pavers. Sounds easy, but getting them perfectly level, ugh, my back was complaining for days after that. Spent a good while just sketching out ideas on scrap paper, nothing fancy, just getting the dimensions I thought would work without taking over the whole yard. Lots of erasing and re-drawing, you know how it is.
Building the Bones and Keeping it Toasty
Once the base was sorted, it was time for the framing. Just good old 2x4s. Slowly, it started to actually look like a little room, which was pretty motivating. I’m no carpenter, so there was a lot of measuring, re-measuring, and the occasional cut that wasn’t quite right. Had to re-do a couple of pieces, which was frustrating, but part of the process, I guess.
Then came the insulation. Super important, otherwise all that lovely heat just escapes. I stuffed rockwool between all the studs. Man, that stuff is itchy, even with gloves and a mask. Next, the vapor barrier. Basically, a giant plastic sheet stapled all over the inside of the frames to keep the moisture in the sauna and out of the walls. That was a bit fiddly, getting it all sealed up tight.
Power, Walls, and a Place to Sit
Wiring was next. For the heater and a light. Now, I’m pretty handy, but electricity makes me nervous. So, I read the instructions for the heater about a million times. Made sure all the connections were super secure. If you’re not comfortable with this bit, seriously, get a professional. No shame in that. Better safe than sorry.
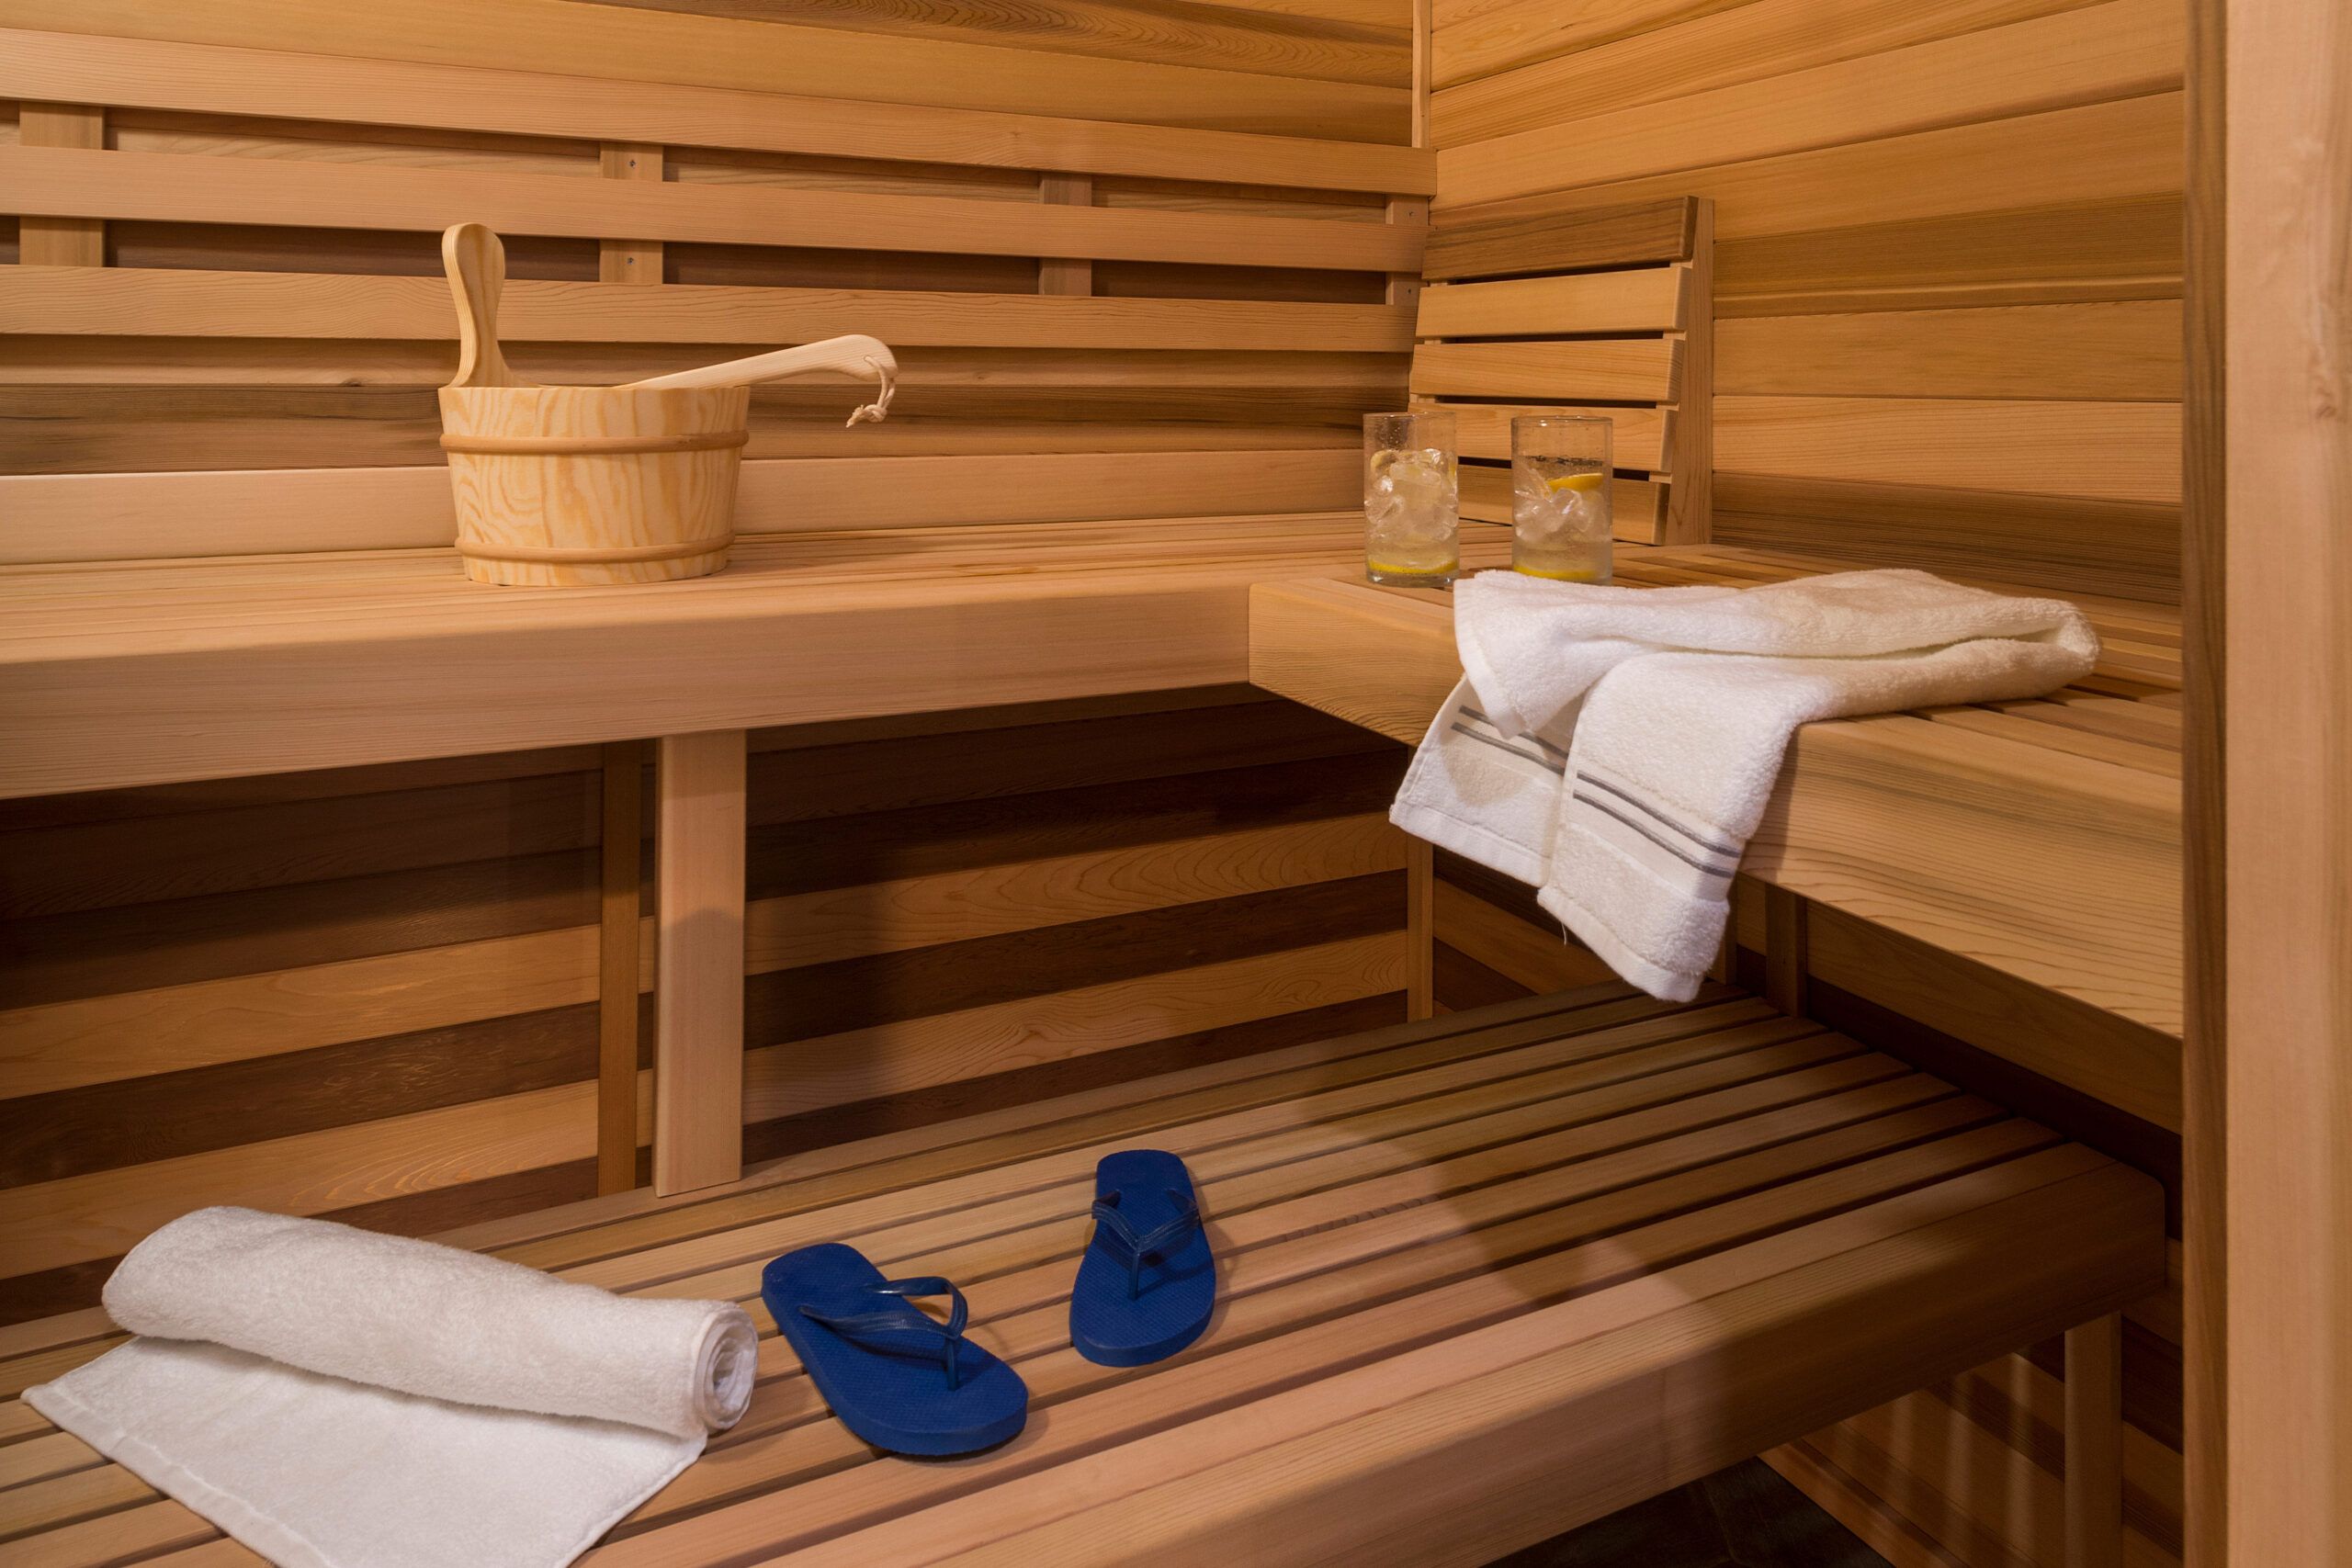
With the guts in place, it was time for the interior paneling. I went with cedar. It smells amazing and it’s kind of the classic sauna wood, isn’t it? This part was actually quite satisfying, though it took ages. Cutting and nailing each one of those tongue-and-groove boards. But as it went up, it really started to feel like a proper sauna. That cedar smell filling the air… lovely.
And you need benches, of course. Built a couple of levels. Again, used cedar. Made sure they were good and sturdy. Getting the height and depth right took a bit of trial and error, sitting on the unfinished frames to see what felt comfortable.
The Heart of the Sauna and Finishing Touches
Installing the sauna heater itself was the big moment. An electric one. Mounted it on the wall, hooked up the wiring I’d run earlier. Still a bit nervous, hoping I’d done everything right. Then, the door. Got a proper sauna door, with a good seal and a magnetic catch. It has to open outwards, for safety. Hanging that to be perfectly plumb and swing nicely was a bit of a faff.
Almost forgot about ventilation! You need some airflow. So, I cut a couple of vent holes, one low for intake, one high for outlet. Simple, but essential. Didn’t want it to get stuffy.
- Bucket and ladle – classic.
- A good thermometer and a hygrometer to see what’s what.
- Maybe a small shelf later for essentials.
The outside is still pretty basic, just the wood. I might paint it or stain it eventually, but for now, I’m just happy it’s done.
The First Sweat and What I Learned
And then, the moment of truth. Fired it up for the first time. Switched it on, and waited. Watching that temperature creep up was exciting. Stepping in for that first proper session… absolutely brilliant. All that work, all that head-scratching, it was all worth it for that first blast of heat.
Looking back, it was a big project. Definitely took longer than I initially thought. There were days I just wanted to pack it all in, especially when something didn’t fit right or I made a stupid mistake and had to undo hours of work. Patience, man, you need a lot of it. And decent tools make a world of difference; my old saw really struggled. But, hey, it’s built, it works, and I did it myself. Pretty chuffed with that, to be honest. Every time I use it now, I get that little bit of satisfaction. Would I do it all again? Ask me in a few months, once the sore muscles have fully recovered!
