Is the final investment in DIY sauna cost truly worth it? Weighing the expenses and the relaxation benefits.
So, you’re thinking about building your own sauna, huh? People see those fancy ones online or in showrooms and think, “Wow, expensive!” And yeah, they can be. That’s kinda why I ended up building my own. I looked at the prices for pre-built kits and having someone install one, and honestly, my wallet screamed a little. I figured, how hard can it be? I’m reasonably handy, got some time, why not give it a shot?
Getting Started – The Dream vs. Reality Check
First thing was figuring out where to put the darn thing. Basement seemed like the obvious choice for me. Less weather to worry about, already kinda isolated. Then, size. Didn’t need a massive party sauna, just something comfortable for maybe two, three people max. So I sketched out a rough plan, maybe 6×4 feet inside? Seemed doable.
Next big decision: heater type. Wood-fired sounds romantic, right? But dealing with chimneys, fire safety, local codes… seemed like a headache I didn’t need in my basement. Electric felt way simpler. Find a spot, run the right kind of wire (important: get this right, safety first!), hook it up. So, electric it was. This was the first big cost item I started researching. Those dedicated sauna heaters aren’t exactly pocket change.
The Material Hunt – Where the Money Really Goes
Okay, planning done, time to buy stuff. This is where the budget starts getting real nervous. You need:
- Lumber: For the frame. Standard 2x4s mostly. Not too bad.
- Insulation: Gotta keep that heat in. Rockwool or fiberglass batts. Need enough for walls and ceiling. This adds up quicker than you think.
- Vapor Barrier: Special foil-backed kind. Absolutely crucial, don’t skip this or cheap out. It protects the structure from all that moisture and heat.
- Wood for the Inside: This is the big one. Cedar is traditional, smells amazing, handles moisture well… and costs a fortune. Seriously. I looked at cedar prices and reconsidered my life choices. Ended up going with a more budget-friendly option like Aspen or maybe even Pine, but you gotta be careful with knots and resin with pine. Even the cheaper wood wasn’t cheap cheap when you need enough for all walls and the ceiling.
- Wood for Benches: Again, cedar is nice, but $$$. Used the same wood as the walls for mine, just planned the structure well so it’s strong.
- Heater & Stones: Found an electric heater online. Still cost a few hundred bucks. Don’t forget the sauna stones!
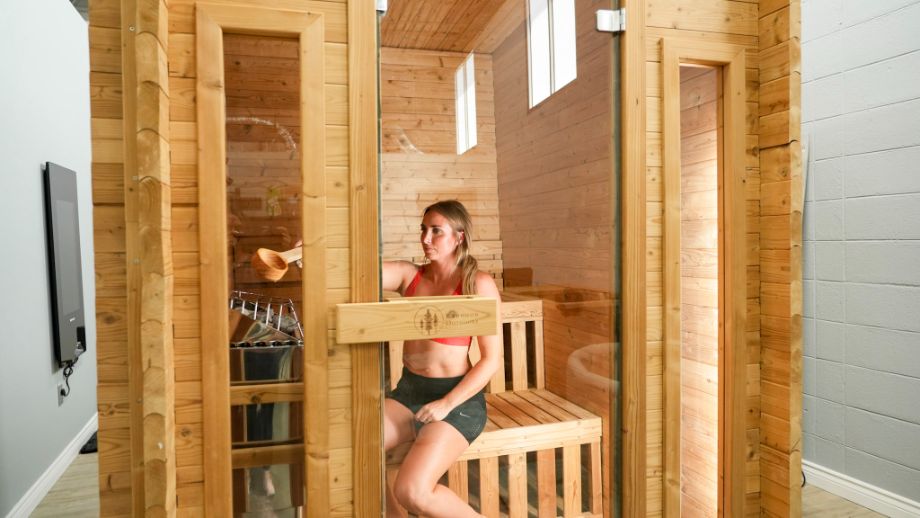
- Door: Needs to be a proper sauna door, usually tempered glass, seals well, opens outwards for safety. Another significant cost.
- Wiring & Electrical: Heavy gauge wire, new breaker, maybe conduit. If you’re not 100% confident, factor in the cost of an electrician. I did the wiring myself, but I have some experience – don’t mess around with high voltage if you don’t know what you’re doing.
- Flooring: I just put down some simple wooden duckboard over the concrete floor. Some people tile. Depends on your base.
- Screws, Vents, Etc.: All the little bits and pieces. They add up too.
I spent a lot of weekends going to different lumber yards and big box stores, trying to find decent prices. It’s a real treasure hunt sometimes. You save a bit here, spend more than expected there.
The Actual Build – Sweat Equity (Literally)
Then came the actual work. Framing the room wasn’t too bad. Putting in the insulation was itchy, dusty work. Remember gloves and a mask! Then running the electrical before closing things up. The vapor barrier was fiddly, taping all the seams carefully.
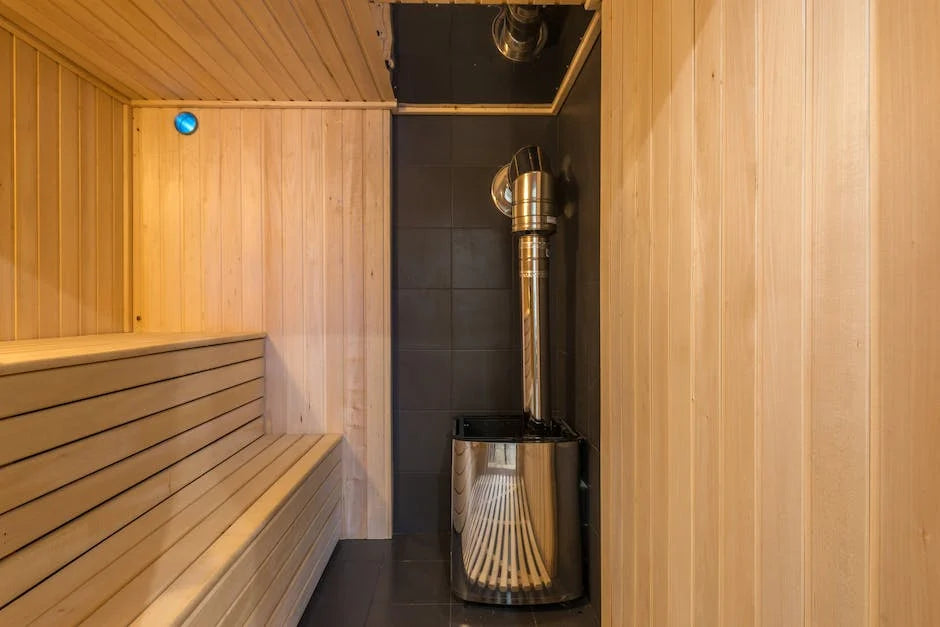
Putting up the interior wood paneling (tongue and groove stuff) took ages. Measure, cut, fit, nail/screw, repeat. Times a million, it felt like. Getting the corners neat was tricky. Building the benches required careful measuring and making sure they were sturdy. Hanging the heavy glass door was definitely a two-person job, or at least it felt safer that way.
Installing the heater wasn’t complex, just following the instructions carefully. Then wiring it up to the dedicated circuit. Piled the stones onto the heater. Added some simple, heat-resistant lighting. Finally, building a small vent system for air circulation.

This whole process took way longer than I initially thought. Lots of evenings, most weekends for a couple of months. Your time has value too, don’t forget that ‘cost’. There were moments I just wanted to chuck my tools across the room, especially when a cut was slightly off or I ran out of the right screws halfway through.
So, What Did It All Cost?
Okay, the big question. When all the sawdust settled, materials alone probably ran me somewhere between $2500 and $4000. It’s fuzzy because I bought things over time and maybe lost a receipt or two. The heater and the interior wood were the biggest chunks by far. The door wasn’t cheap either. If I had paid someone for labor? Easily double that, maybe more.
Could I have done it cheaper? Maybe. If I’d used lower-grade pine inside, maybe skipped the fancy glass door for a solid wood one I built myself. If I found reclaimed materials. But I wanted something decent that would last.
Compared to buying a pre-built kit of similar size and quality, which often start around $5000-$7000 plus installation, I definitely saved money. But it cost me a lot of time, sweat, and a few frustrated evenings.
Was It Worth It?
Yeah, absolutely. Every time I fire it up and sit in there, knowing I built it with my own hands, it feels pretty damn good. It works great, heats up nicely, and it’s exactly the size and layout I wanted. Plus, I learned a ton. But don’t go into it thinking it’s a quick, easy, or super cheap weekend project. It takes effort, planning, and the costs do add up. Be realistic about your skills, your budget, and your time before you start.