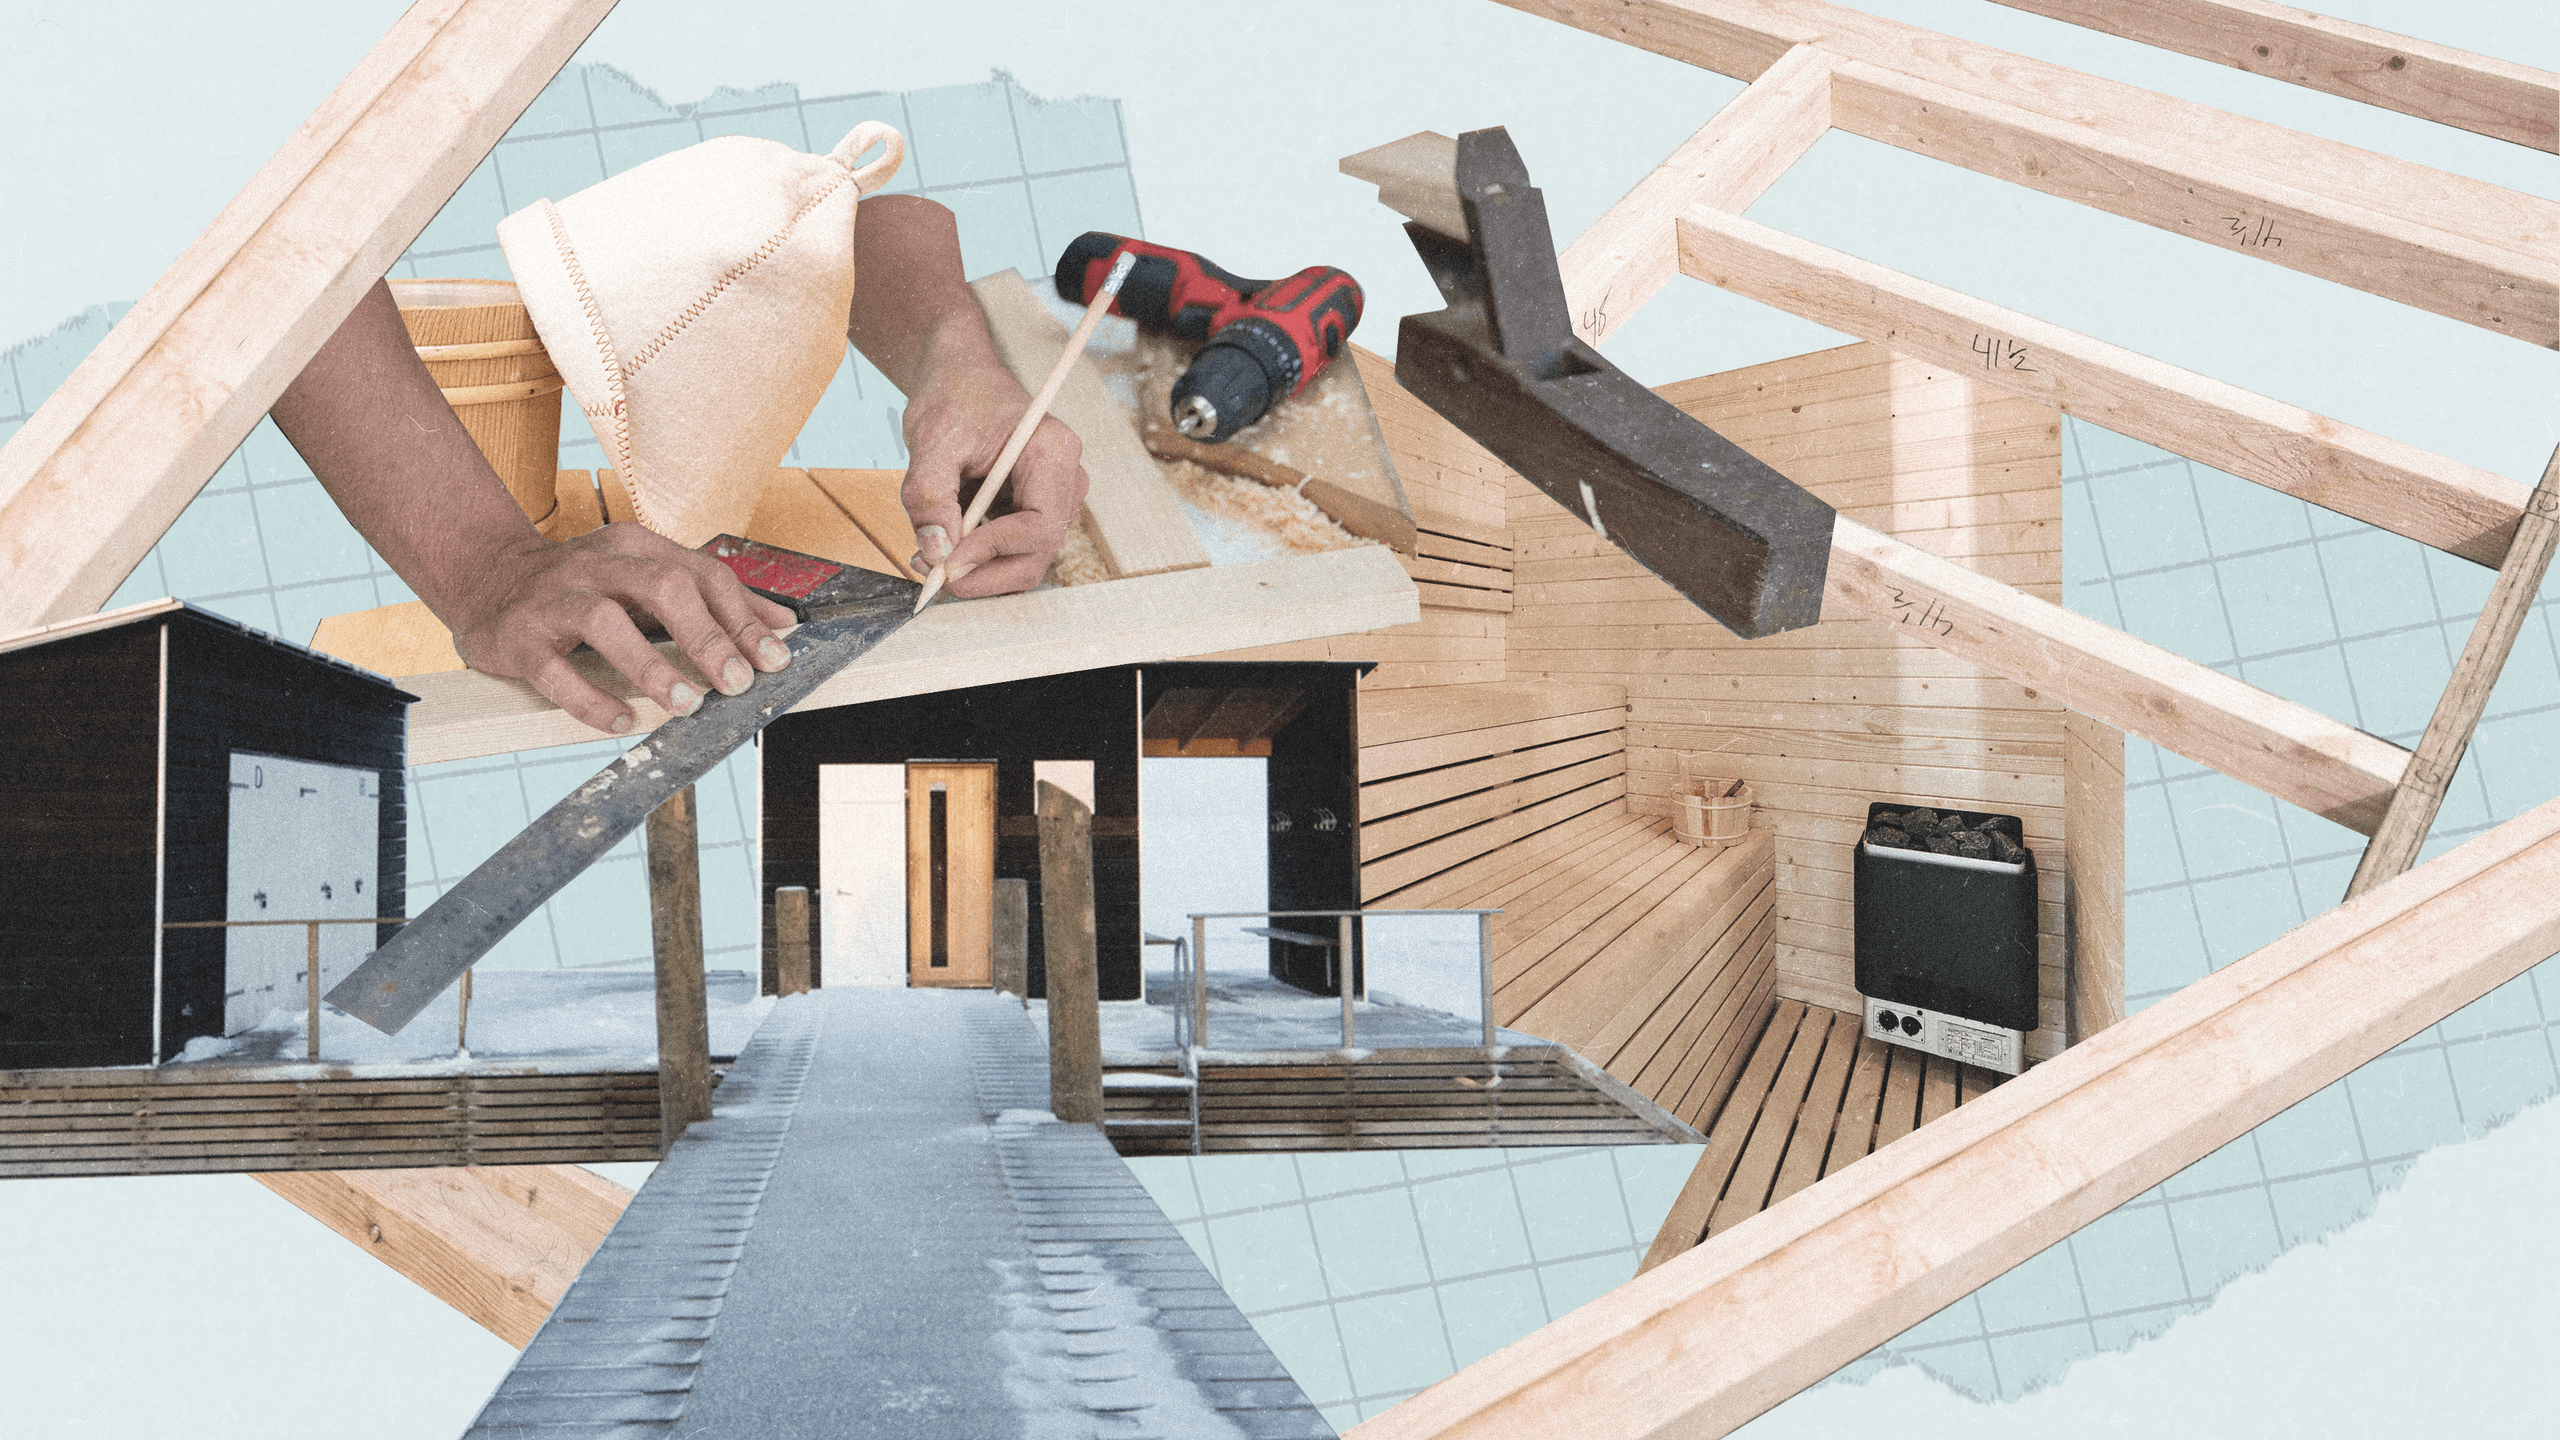
How to start Sauna Room Construction? Follow these 5 simple steps for your perfect home sauna build.
Alright, so I decided to build my own sauna. Seemed like a good project, you know? Something practical.
The Plan and the Base
First thing, had to figure out where to put it. Found a spot in the basement that worked. Cleared it out. Then, the foundation. Didn’t do anything too crazy, just made sure the floor was level enough. Built a simple raised base frame out of treated lumber, because basements can get damp, right? Didn’t want the main sauna wood sitting right on the concrete.
Framing the Walls and Ceiling
Got a load of 2x4s. Started putting up the walls, stud by stud. Felt like building a tiny room. Lots of measuring, cutting with the chop saw, nailing things together with the nail gun. Had to remember to frame out the space for the door and a small window. Ceiling joists went up next. Same deal, 2x4s. Making sure everything was reasonably square and plumb took some time. Made a couple of bad cuts, had to redo them. Annoying, but part of the process.
Insulation and Vapor Barrier
This part’s important for a sauna. You gotta keep the heat in. I used Rockwool insulation. Packed it tight between all the studs in the walls and the joists in the ceiling. Wear gloves and a mask for this stuff, it gets itchy and dusty. After the insulation, put up a foil vapor barrier. Stapled it all over the inside, covering the insulation. Taped the seams with special foil tape. Gotta make it airtight so moisture doesn’t get into the insulation.
Wiring for the Heater and Light
Before closing up the walls, ran the electrical wiring. Needed a heavy-duty line for the electric sauna heater. Got the right gauge wire for that. Also ran wiring for a simple interior light fixture. Made sure to use junction boxes rated for the heat. Double-checked all the connections. You don’t want to mess around with electricity, especially in a hot, potentially damp place.
Interior Paneling – Cedar Time
This was the fun part. Used tongue-and-groove cedar planks for the inside walls and ceiling. That smell is just fantastic. Started from the bottom and worked my way up. Used stainless steel nails because regular ones would rust. Takes patience to get the boards fitting tight and looking good, especially around corners and the window opening. Took longer than I thought it would.
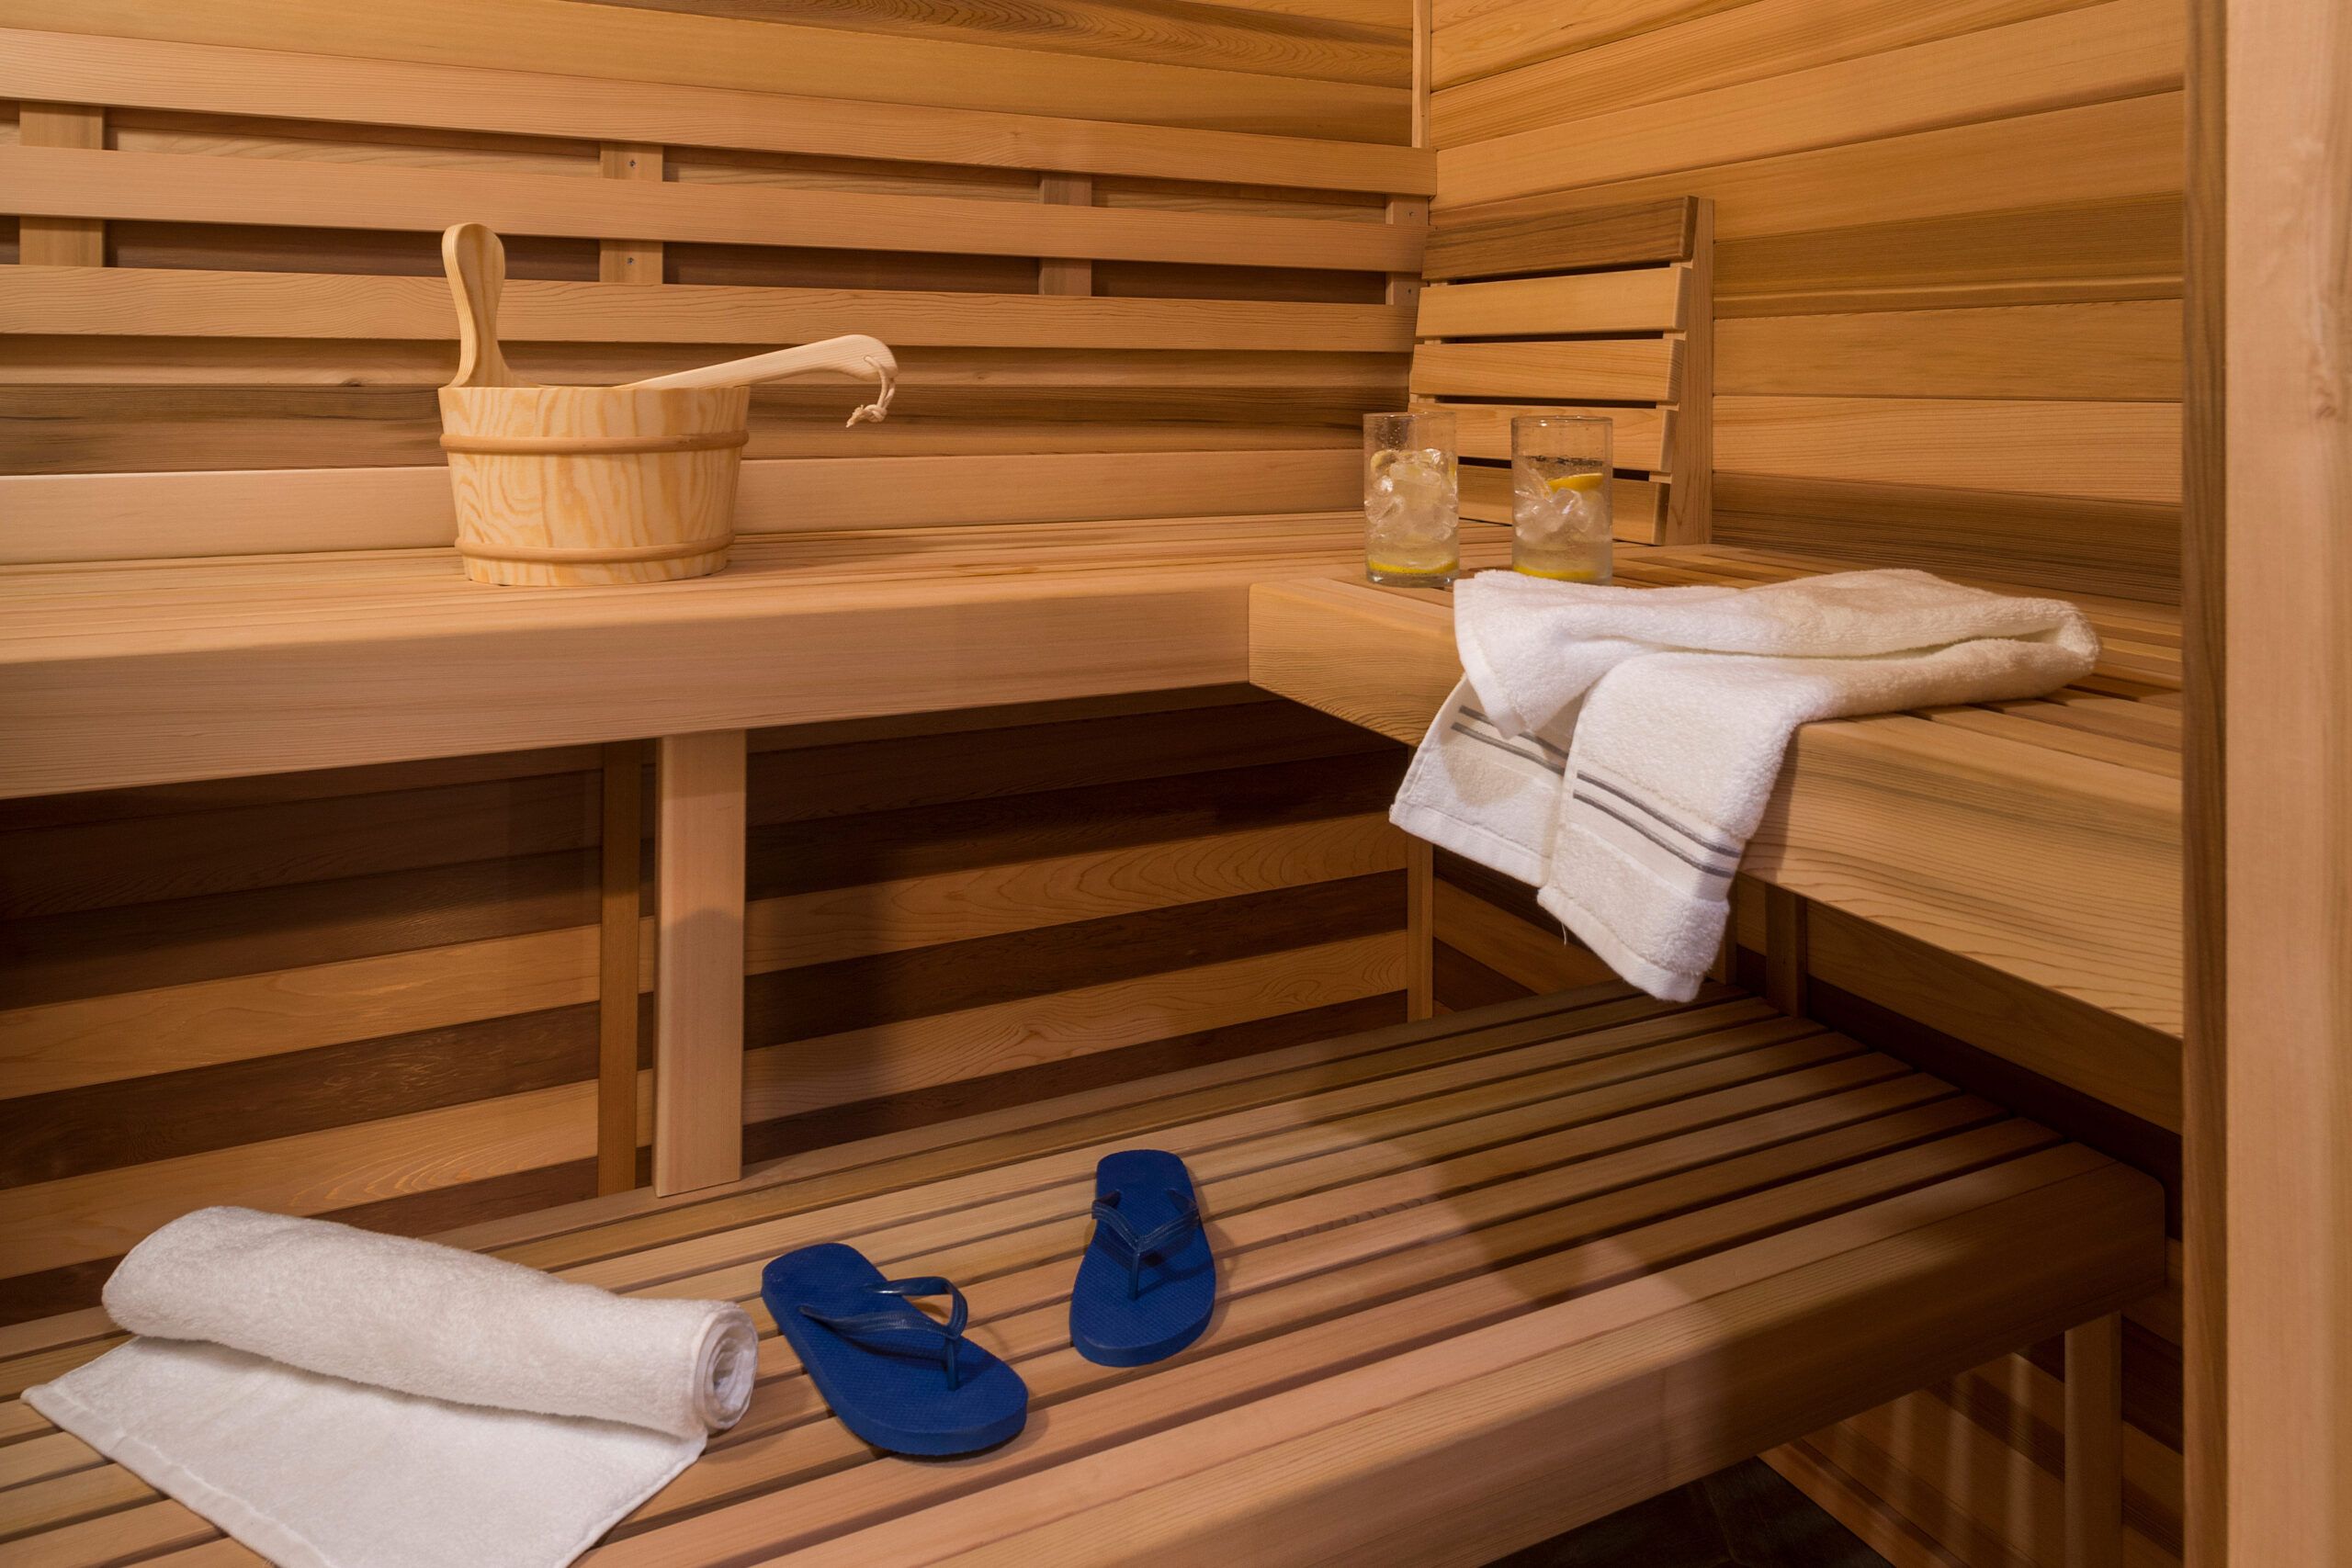
Building the Benches
Needed somewhere to sit. Used cedar 2x4s and 1x4s for the benches. Built a simple two-level bench design. Lower bench and an upper bench. Sanded everything smooth. Didn’t want any splinters! Made sure they were super sturdy.
Installing the Heater and Door
Mounted the electric heater to the wall according to the manufacturer’s instructions. Put the heat rocks in. Wired it up finally. Then hung the door. Used a pre-hung door with a glass panel. Important thing: sauna doors should always open outwards for safety. Put a wooden handle on it.
Final Bits
Added some trim around the door and window. Put in vents for air circulation – one low near the heater, one high on the opposite wall. Cleaned everything up. Turned it on for the first time. Waited for it to heat up. Sitting in there after all that work felt pretty good. It’s not perfect, few crooked lines here and there if you look close. But it works, and I built it. That’s the main thing.
