DIY Sauna Room Installation Process (A Beginner Friendly Guide to Building Your Own Dream Sauna Safely)
Getting Started with this Sauna Thing
Alright, so I decided I wanted a sauna. Don’t ask me why, just felt like a good idea, you know? Like, after a long day, just sweat it all out. Sounded amazing. So, I went and got one of those kit things. Supposed to be easy, they said. We’ll see about that.
Unboxing the Beast
First thing, the delivery guys dropped off this massive pile of boxes. Looked like a giant Lego set, but heavier. Way heavier. I dragged everything into the garage where I planned to set it up. My back was not happy, let me tell you. Then came the fun part: opening every single box. Wood panels, glass door, heater thingy, a million screws and brackets. I laid it all out, trying to match it with the picture in the instruction booklet, which, by the way, looked like it was written by aliens. Seriously, half the diagrams made no sense at first.
Putting up the Walls – Or Trying To
Okay, so the base went down pretty easy. Just a couple of big wooden pieces. Then came the walls. These panels, they were supposed to just slot together. Some did. Others, man, they fought me. I was sweating more putting the sauna together than I probably will in the sauna for the first month. Had to use a rubber mallet a few times, gently, of course. Mostly gently. One panel was a bit warped, or maybe I was holding it wrong. Who knows? I wrestled with it for a good bit. Eventually, they all stood up, looking something like a box. A wobbly box at first, but it got sturdier as more pieces went on.
The Scary Part: The Heater
Then came the heater. This was the bit I was most nervous about. Electricity and heat, what could go wrong, right? The instructions were super vague here. “Attach heater to wall.” Thanks, real helpful. I’d already gotten an electrician buddy to check if my wiring in that spot could handle it, so that was one worry off my mind. Still, actually hooking up the unit myself was nerve-wracking. I made sure the main power breaker was off like, ten times. Checked the wires, looked at the diagram, looked back at the wires. It wasn’t super complicated, a few connections, but still, my palms were sweaty. Got it mounted on the wall eventually. Looks okay, I think. Straight, at least.
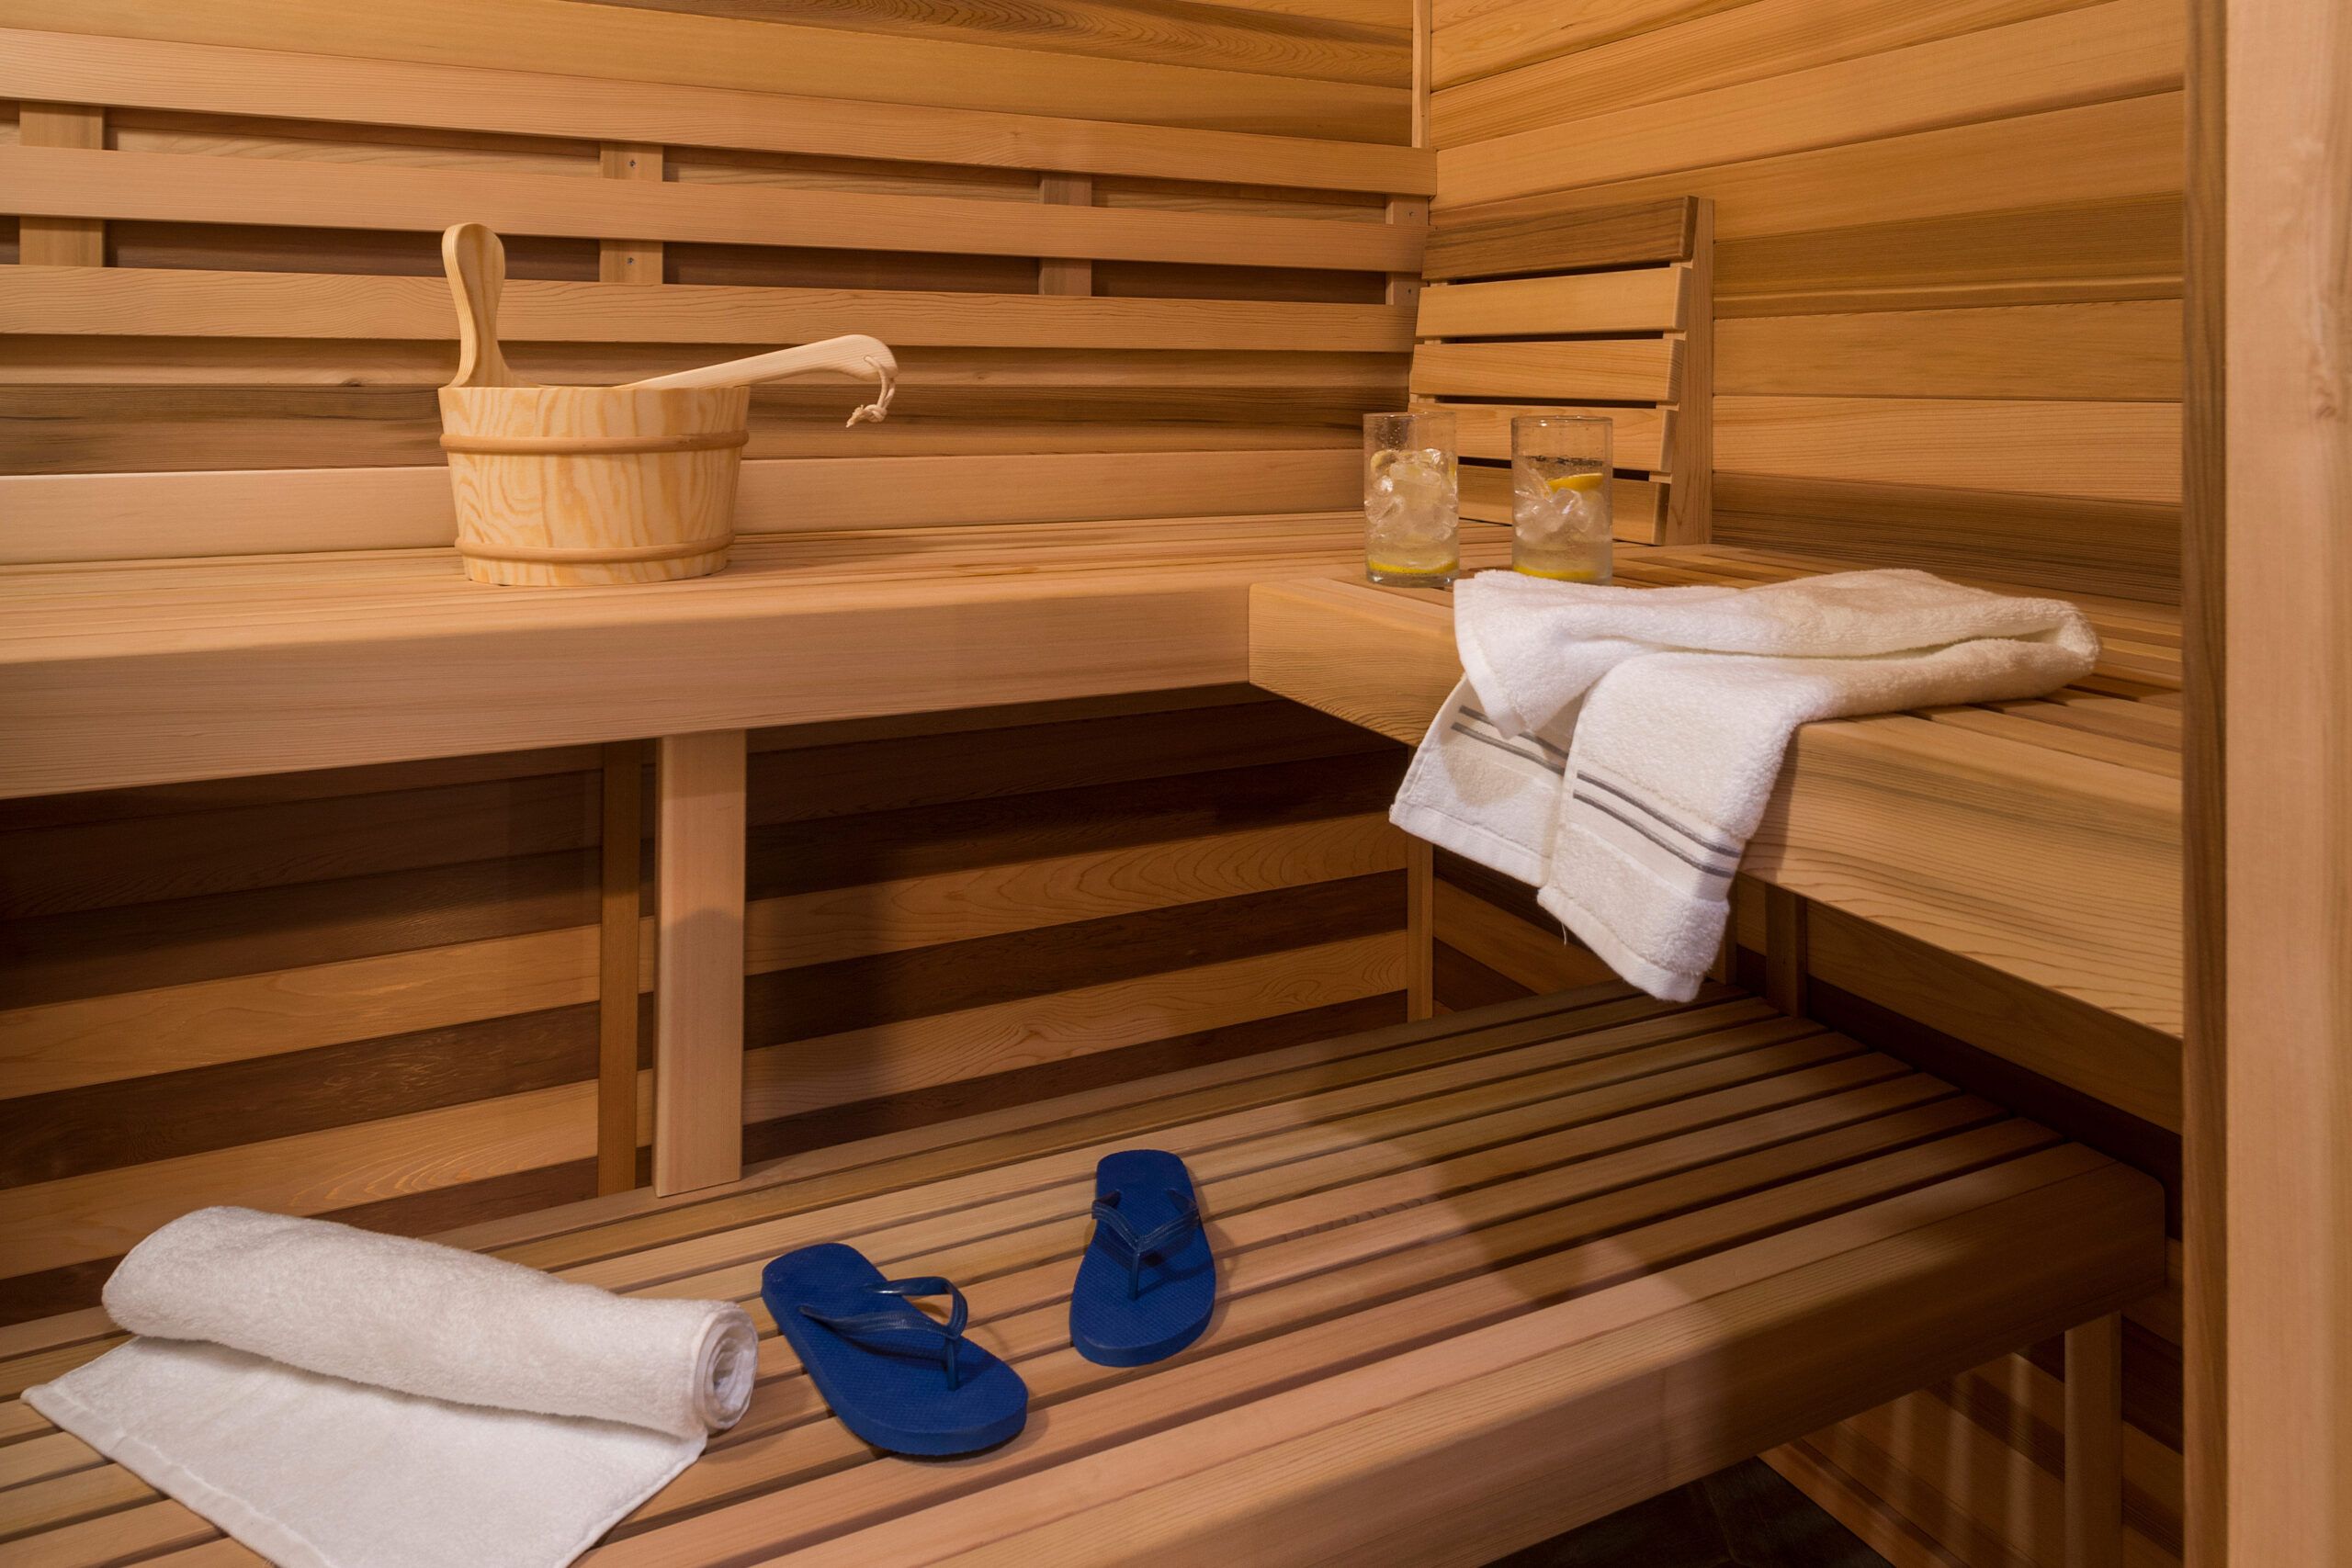
Benches, Door, and the Little Bits
With the heater in, the rest felt a bit easier.
- The benches just kinda slotted into place. That was a relief. Pretty straightforward, just slide them onto the supports.
- The door, though, that was fiddly. Getting it to hang straight and close properly took some adjusting. Lots of little screws and making sure it was level. Took me longer than I thought it would.
- Then there were all the other bits: the wooden bucket, the ladle, the thermometer, and the little interior light. Little things, but they make it feel like a real sauna. I even put in the duckboard flooring piece.
The Moment of Truth
So, everything was built. Looked like a sauna, smelled like new wood. Time to turn it on. I plugged it in (well, the electrician had sorted the final connection to the mains for the heater), flipped the switch on the heater control panel, and… nothing exploded. Good start! I waited, peeking through the door every few minutes. Slowly, I could feel it starting to get warm. Then hot. It actually worked! I tell ya, sitting in it for the first time, knowing I put every single piece together (mostly right, I hope), that was a good feeling. Took a whole weekend, a lot of head-scratching, and maybe a few choice words yelled at inanimate objects, but hey, I got a sauna in my house now. Not bad for a regular guy, eh?
