Need help with Sauna Room Assembly right now? Get your new home sauna built with our easy peasy plan!
So, I finally did it. Got myself one of those home sauna kits. Been thinking about it for a while, especially after that ridiculously stressful quarter at work. My back was killing me, and honestly, just needed a space to properly switch off. Figured putting one together myself would be, well, an experience. And it was.
Unboxing and a Bit of a Mess
The thing arrived on a massive pallet, probably weighing a ton. The delivery guy just about managed to get it onto the driveway with a pallet jack. Dragging it piece by piece into the garage was the first workout. Unboxing it was like an explosion in a timber yard. Panels everywhere, bags of screws, bits of trim. The instruction manual? Looked like it was translated by a drunk robot. Mostly pictures, very few words, and half of them seemed to contradict the other half.
Getting Started – The Base and Walls
First things first, I cleared a space in the spare room. Had to make sure the floor was level. That’s key, they say. Laid out the base panel. Seemed straightforward enough. Then came the wall panels. These big, heavy things. They had these slot-together systems. Some went in easy, others needed a bit of… persuasion. A rubber mallet became my best friend pretty quickly. I swear, for a while there, it felt like I was wrestling an octopus. One panel would slot in, another would pop out. Classic stuff.
- Checked all the panels for damage. Found a small scuff on one, but it was going to be an inside corner, so no biggie.
- Sorted all the screws and fittings. Or tried to. Some looked suspiciously similar.
- Realized I was missing a couple of specific screws for the door hinges. Typical. Had to rummage through my own collection in the garage. Found something that worked, thankfully. You always end up improvising with these kits, don’t you?
The Roof and the Benches
Getting the roof panel on was a two-person job, or at least, it should have been. I managed it solo, but there was a precarious moment involving a step ladder and a lot of grunting. Felt like I was trying to cap a volcano. Once that was on and screwed down, it started to actually look like a sauna. Progress!
The benches were next. Simpler, thankfully. Just a case of attaching the supports and then laying the bench tops on. Still, managed to put one of the support brackets on upside down initially. Had to unscrew it and flip it. Always read the tiny diagram twice, or even three times. Even if it looks like a child’s doodle.
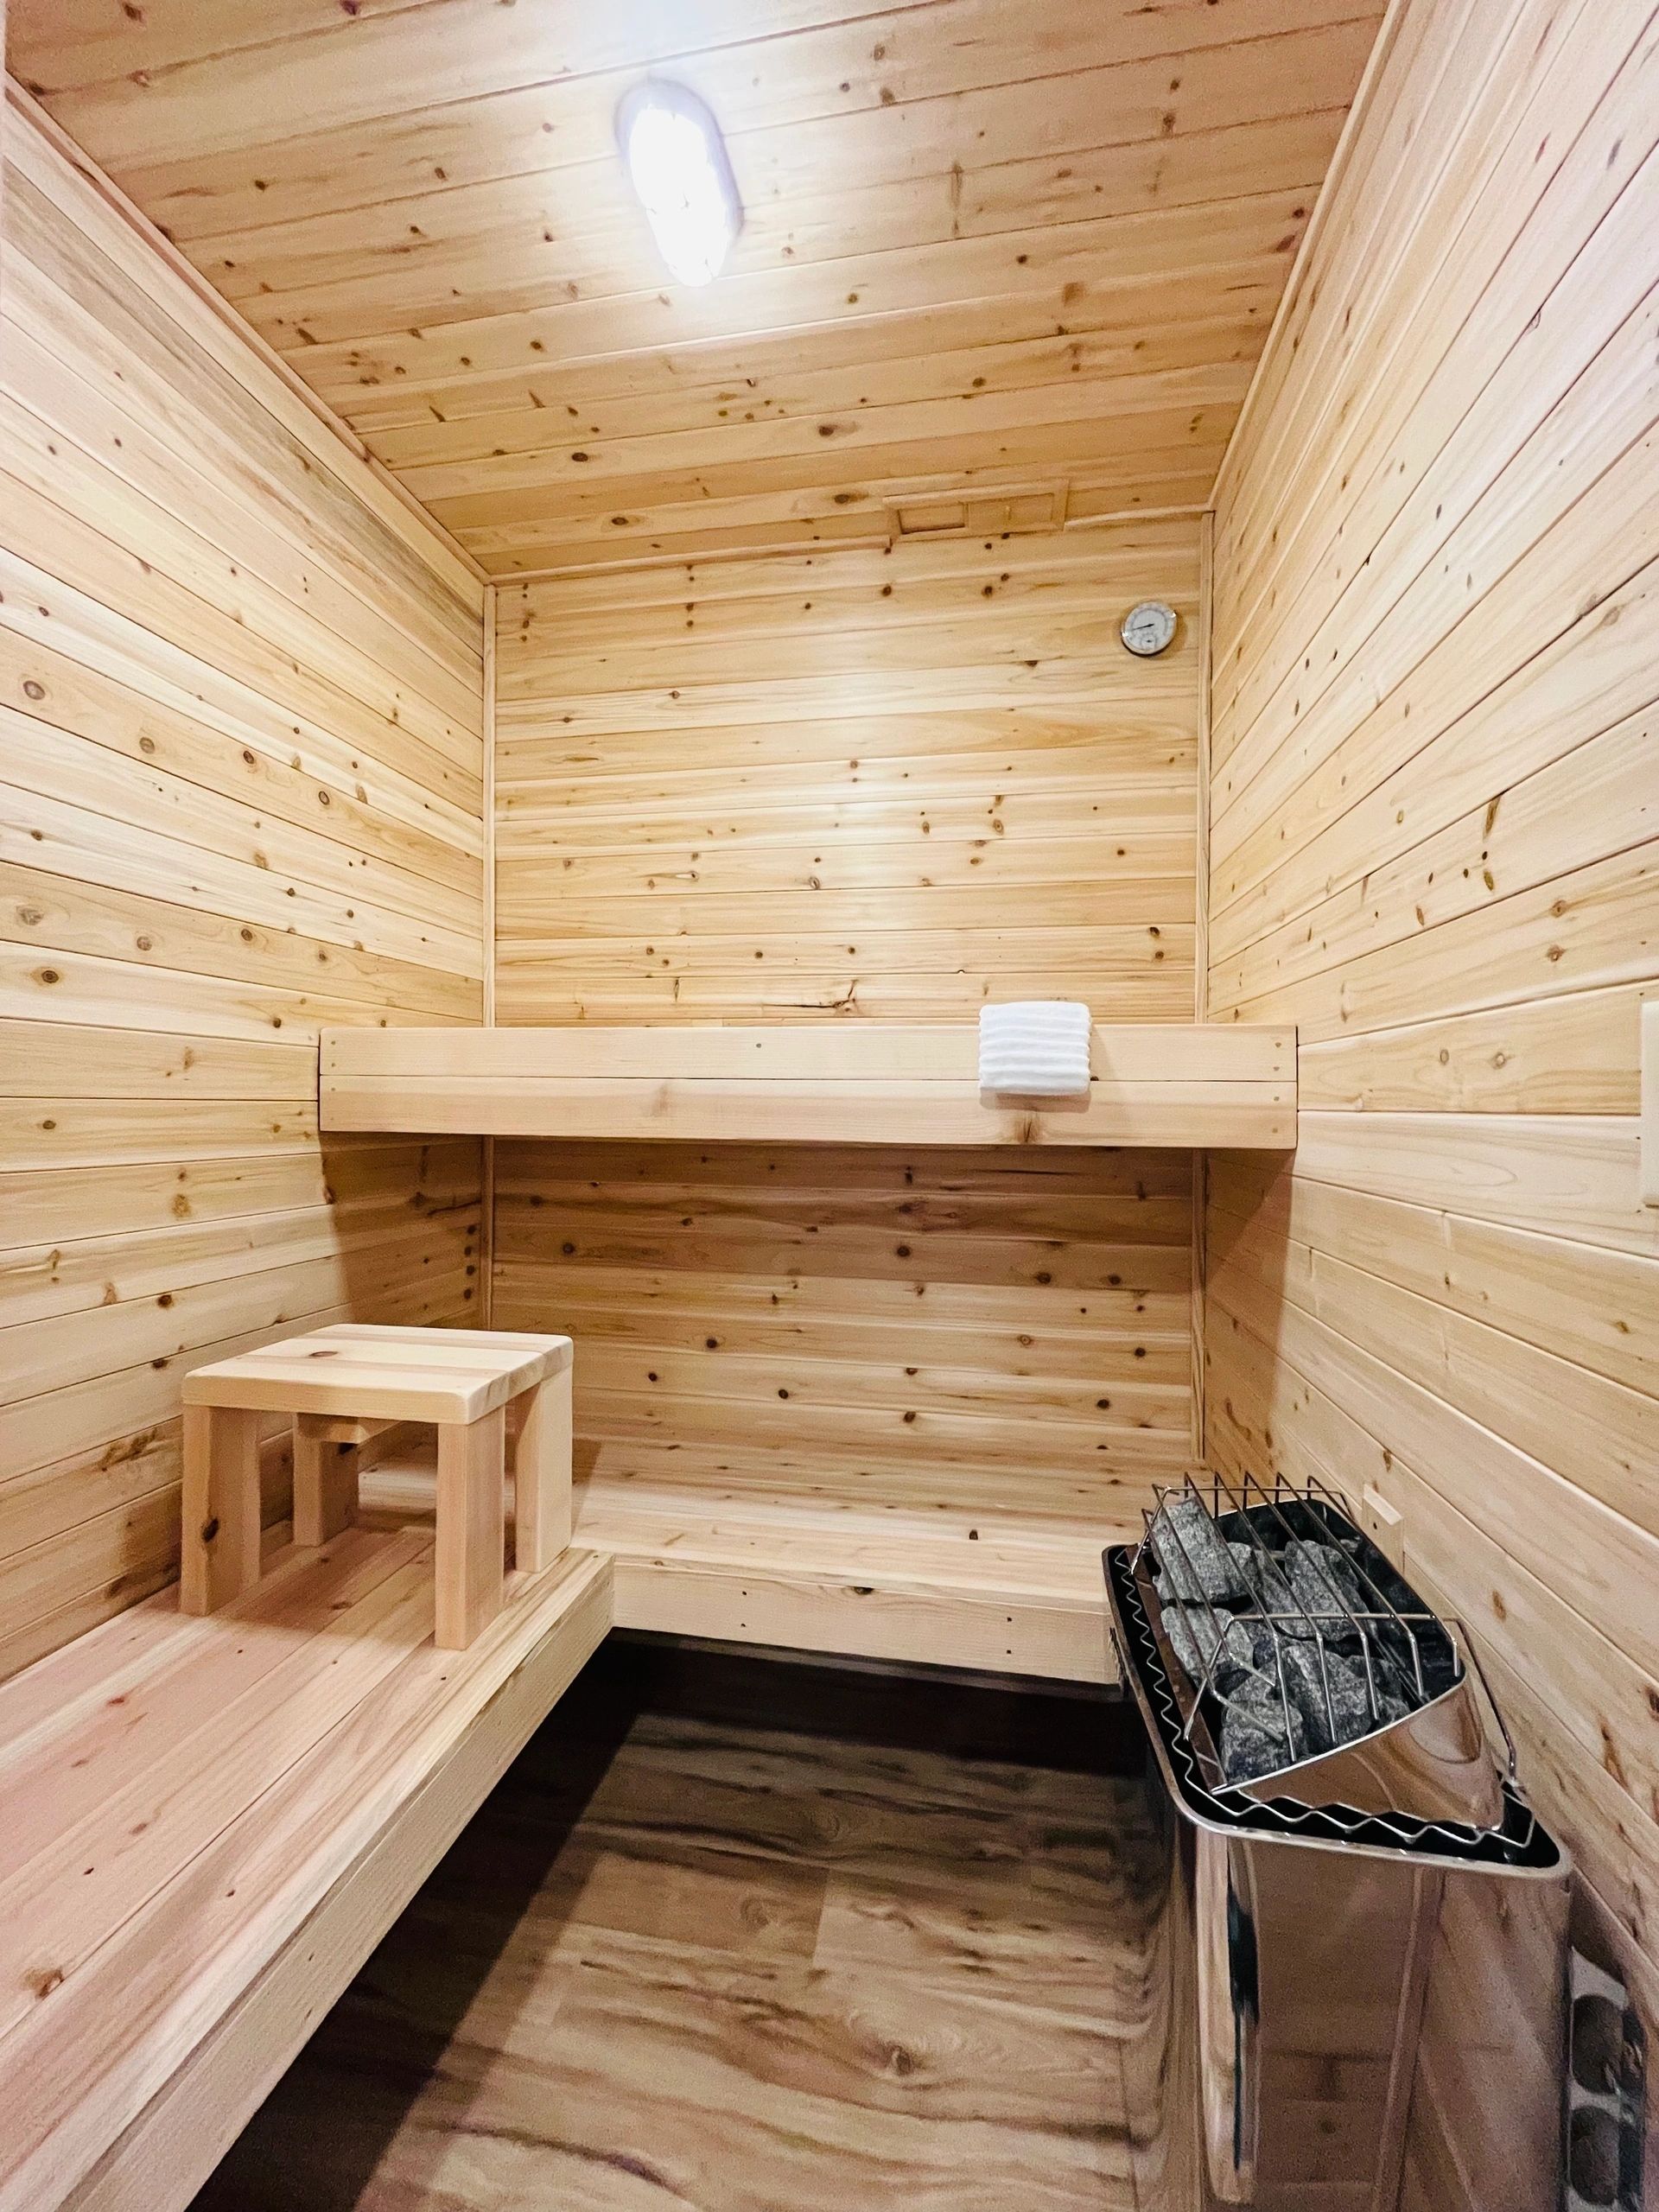
Heater and Electrics – Taking it Slow
Now, the heater. This was the bit I was most cautious about. Electricity and wood, you know? The instructions for this part were actually a bit clearer, thankfully. It had its own separate manual. I took my time, double-checked every connection. Made sure everything was tight and properly grounded. If you’re not comfortable with this bit, get a professional. Seriously. Not worth the risk. I’ve done a bit of wiring before, so I felt okay, but I was still extra careful.
Finishing Touches and the First Sweat
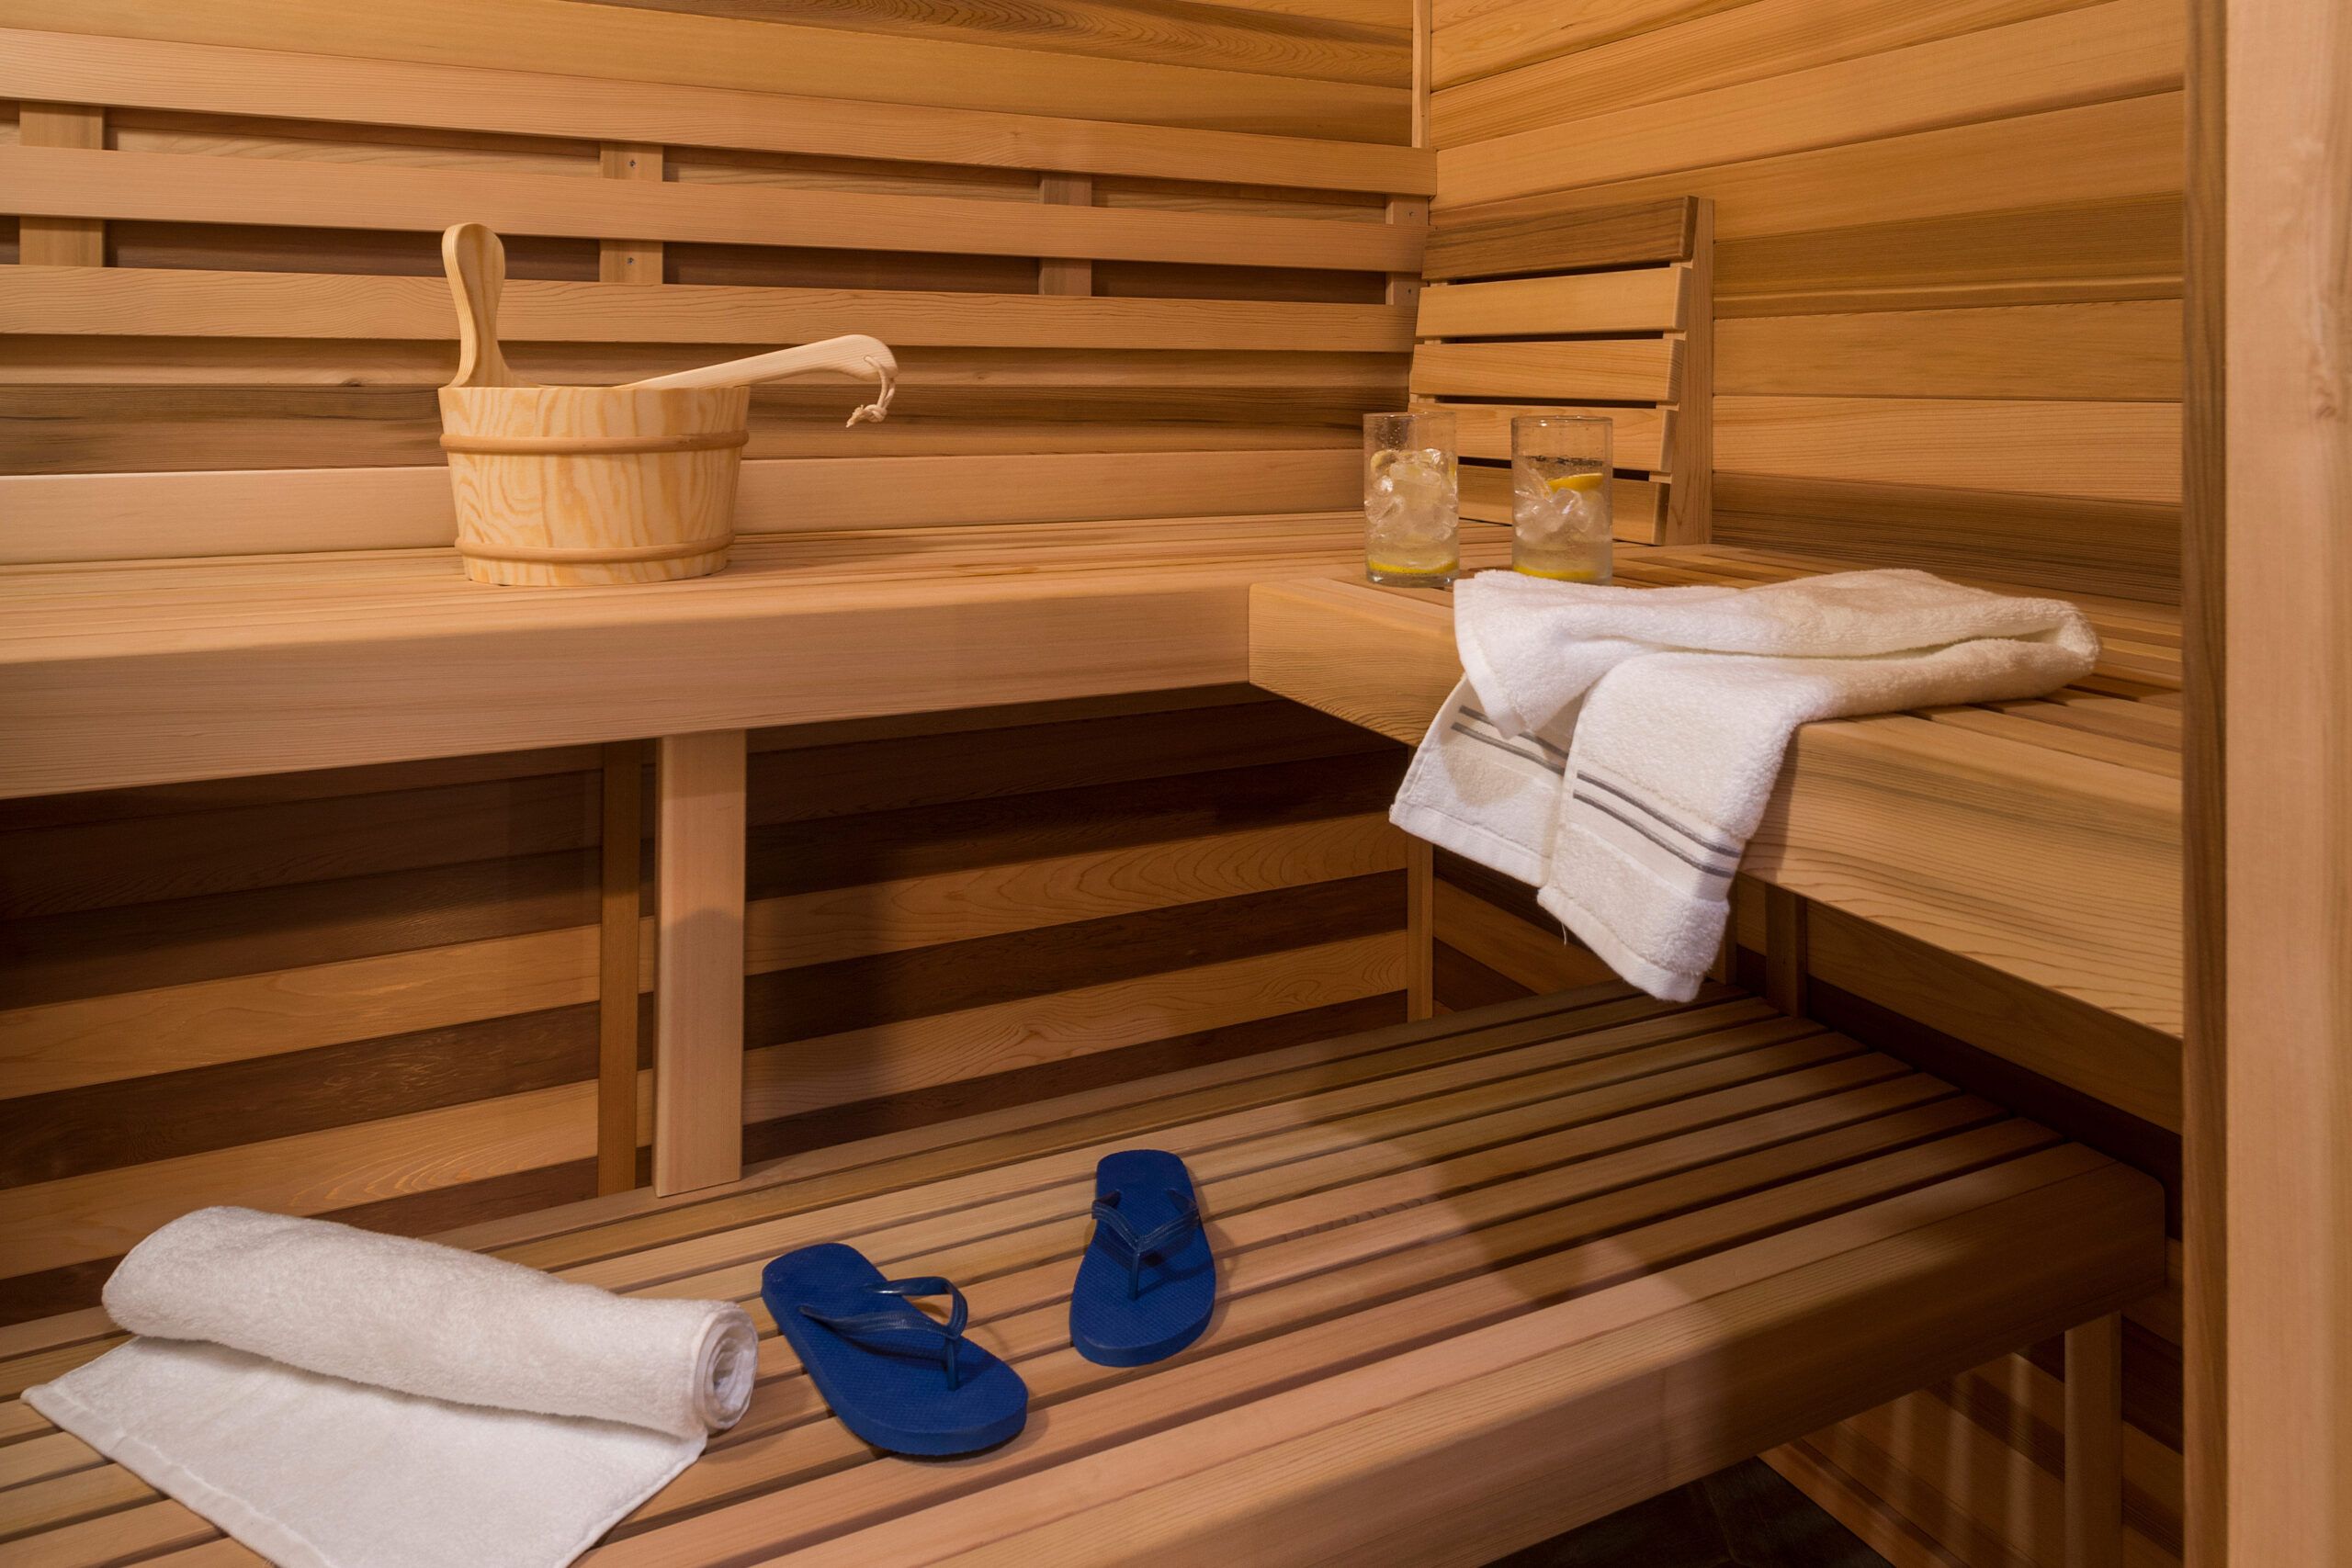
Hung the door. That took a bit of fiddling to get it perfectly aligned so it closed snugly. Attached the handle. Put in the floorboards. Stuck on the little wooden bucket and ladle holder. Stood back. Took a deep breath. It actually looked pretty good! A proper little sauna, right in my house.
Cleaned up the mess – sawdust everywhere, bits of plastic, cardboard. Then, the moment of truth. Switched it on. Waited for it to heat up. That first session? Pure bliss. All that sweat and effort, literally, just melted away. Knowing I’d put every piece together myself made it even better. Took a good chunk of a weekend, a few choice words muttered under my breath, but yeah, totally worth it.