Easy Guide: Whole Sauna Room Installation Made Simple
Alright, buckle up, because I’m about to walk you through the whole shebang of installing a sauna. It’s not rocket science, but there are definitely a few things I wish I knew going in. This is all based on my own blood, sweat, and maybe a few tears experience, so hopefully, it saves you some hassle.
First things first, planning is key. Seriously, don’t just buy a sauna and assume it’ll magically fit somewhere. I made that mistake at first. I measured the space I had available like five times before even looking at saunas. Then, I spent ages comparing dimensions of different models to make sure I wasn’t going to end up with a sauna that stuck out into the hallway.
Once I had the sauna delivered (and wrestled it off the truck – pro tip: bribe your neighbors with beer to help), I started unpacking everything. Inventory, inventory, inventory! Make sure you have all the parts listed in the manual. I was missing a bag of screws and had to make a panicked run to the hardware store. Not fun.
- Walls and roof panels: Check!
- Benches: Check! (Top and bottom)
- Heater: Check! (Big boy)
- Door: Check! (Glass panel)
- Control panel: Check!
- Rocks: Check! (Enough to fill the heater)
- Lights: Check! (Mood lighting is a must)
Alright, now for the fun part – assembly. The instructions that came with my sauna were… let’s just say “less than helpful.” They were basically a series of blurry pictures and vague descriptions. So, I relied heavily on online videos and common sense. Start with the base. Make sure it’s level! I used shims to get it perfectly aligned. A wobbly sauna is a sad sauna.
Then, I started attaching the wall panels. This is where having a second pair of hands is really helpful. I managed solo, but it was awkward and involved a lot of cursing. The panels usually slot together and then get screwed in. Don’t overtighten the screws! You’ll strip the wood. Just snug them up.
Next up was the roof. This was the trickiest part for me. The roof panels were heavy and unwieldy. I had to build a temporary support structure out of some scrap wood to hold them in place while I screwed them in. Again, having a helper would have been a lifesaver here.
With the basic structure up, I moved on to the interior. Installing the benches was pretty straightforward. Just measure carefully and make sure they’re level and securely attached. I also added some trim around the edges to make it look a little more polished.
Now for the electrical stuff. Disclaimer: I’m not an electrician. If you’re not comfortable working with electricity, hire a professional! I ran a dedicated circuit for the sauna heater. It’s a high-powered appliance, and you don’t want to overload your existing wiring. I wired up the heater and the control panel according to the manufacturer’s instructions. Double-check everything before you flip the breaker!
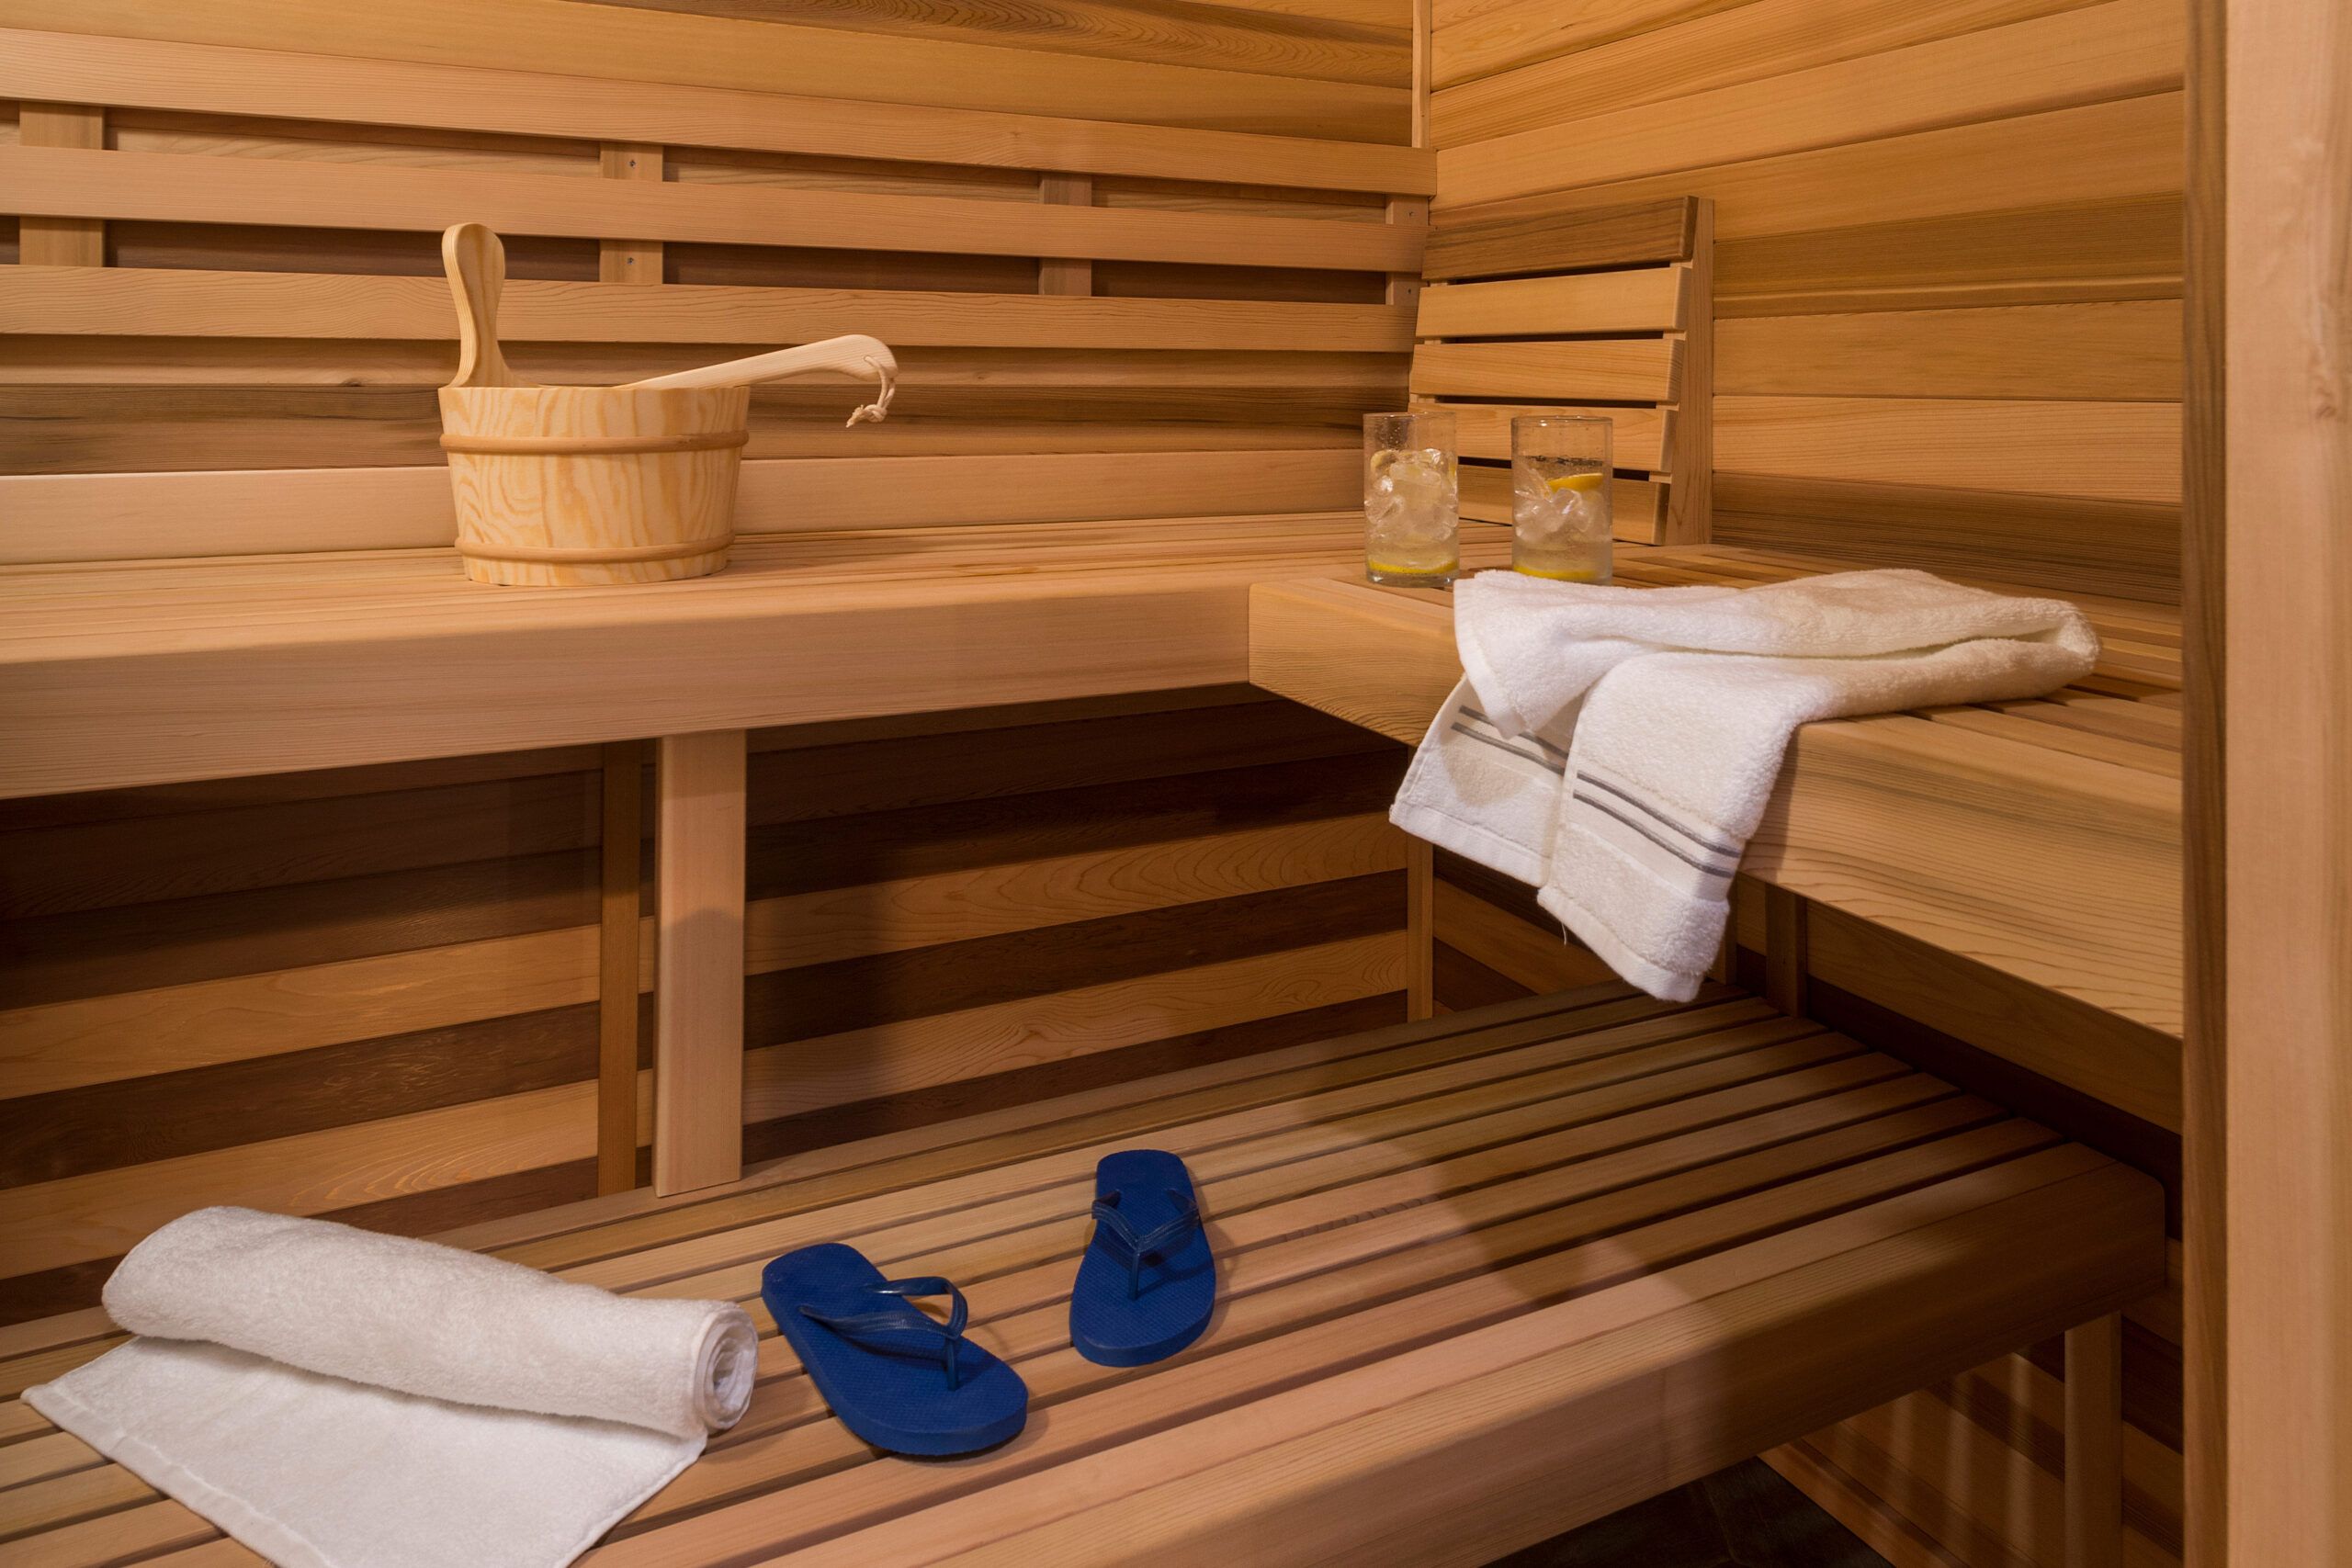
Finally, I installed the door and the lights. The door was a bit fiddly to get aligned properly, but eventually, I got it to seal tightly. The lights were easy – just plug and play. I arranged the rocks in the heater, trying to leave some air gaps for better heat distribution.
And that’s it! The moment of truth. I turned on the heater, and… nothing. Panic! Turns out I had forgotten to connect a wire inside the control panel. Fixed that, and boom – the sauna started heating up. The first sauna session was glorious. All the hard work was worth it.
Things I learned:
- Read the instructions carefully (even if they suck).
- Measure everything twice (cut once).
- Don’t be afraid to ask for help.
- Have a beer (or two) while you work.
So, there you have it. My complete, slightly chaotic, but ultimately successful sauna installation experience. Good luck with yours!
