How to install a home sauna yourself? Key tips to make your home sauna setup smooth.
So, I finally decided to get a home sauna. Been thinking about it for ages, you know? Just wanted a spot to properly relax after a long week. Didn’t want anything too fancy, just something functional for the basement.
Getting Started – Picking the Thing
First off, I spent some time looking at different types. You got your infrared ones, your traditional ones with the hot rocks. And then kits versus building from scratch. Building from scratch? Nah, not for me. Too much hassle. I ended up going for a pre-fab kit, one of those two-person traditional saunas. Seemed like the easiest route for someone like me who’s okay with tools but not exactly a master carpenter.
Prepping the Spot
Before the big box even arrived, I had to sort out the space. Picked a corner in the basement that wasn’t doing much. Had to clear out a bunch of old storage boxes, sweep up properly. The big thing was checking the electricals. The kit I bought needed a dedicated circuit, a 240V one. This was important. I’m comfortable with basic wiring, but for this, I double-checked everything. Had to run a new line from the breaker box. Took me most of a Saturday afternoon, making sure it was safe and up to code. Didn’t want any funny business with electricity, especially in a sauna.
Putting it Together – The Main Event
When the kit arrived, it was like a giant Lego set, but heavier. Seriously heavy. Unpacking it took ages.
- I started by laying down the floor panel. Had to make sure it was level. Used a level tool, shimmed it a bit.
- Then came the walls. These panels sort of slot together. Sounds easy, but lining them up perfectly took some muscle and a bit of frustration. Got the back wall up, then the side walls. They usually have some kind of latch or clip system. Mine had these wooden pins and slots, plus some screws.
- Putting the front panel on, the one with the door pre-installed, was a bit tricky. Needed an extra pair of hands just to hold it steady while I secured it. Luckily, my neighbour gave me a hand for like 15 minutes.
- The ceiling panel went on last. Had to lift it up and slide it into place. More heavy lifting. My arms were definitely feeling it by then.
Getting everything square and tight was key. Took my time with the screws, didn’t want any gaps.
Wiring Up the Heater and Lights
With the main box built, it was time for the heater. This felt like the serious part. I followed the instructions to the letter. Mounted the heater to the wall where the manual said. Then, connecting the power I ran earlier. Turned off the breaker first, obviously. Connected the wires inside the sauna to the heater unit. Also connected the small interior light that came with the kit. Double-checked all connections. Felt a bit like disarming a bomb, wanted to get it right.
Finishing Touches
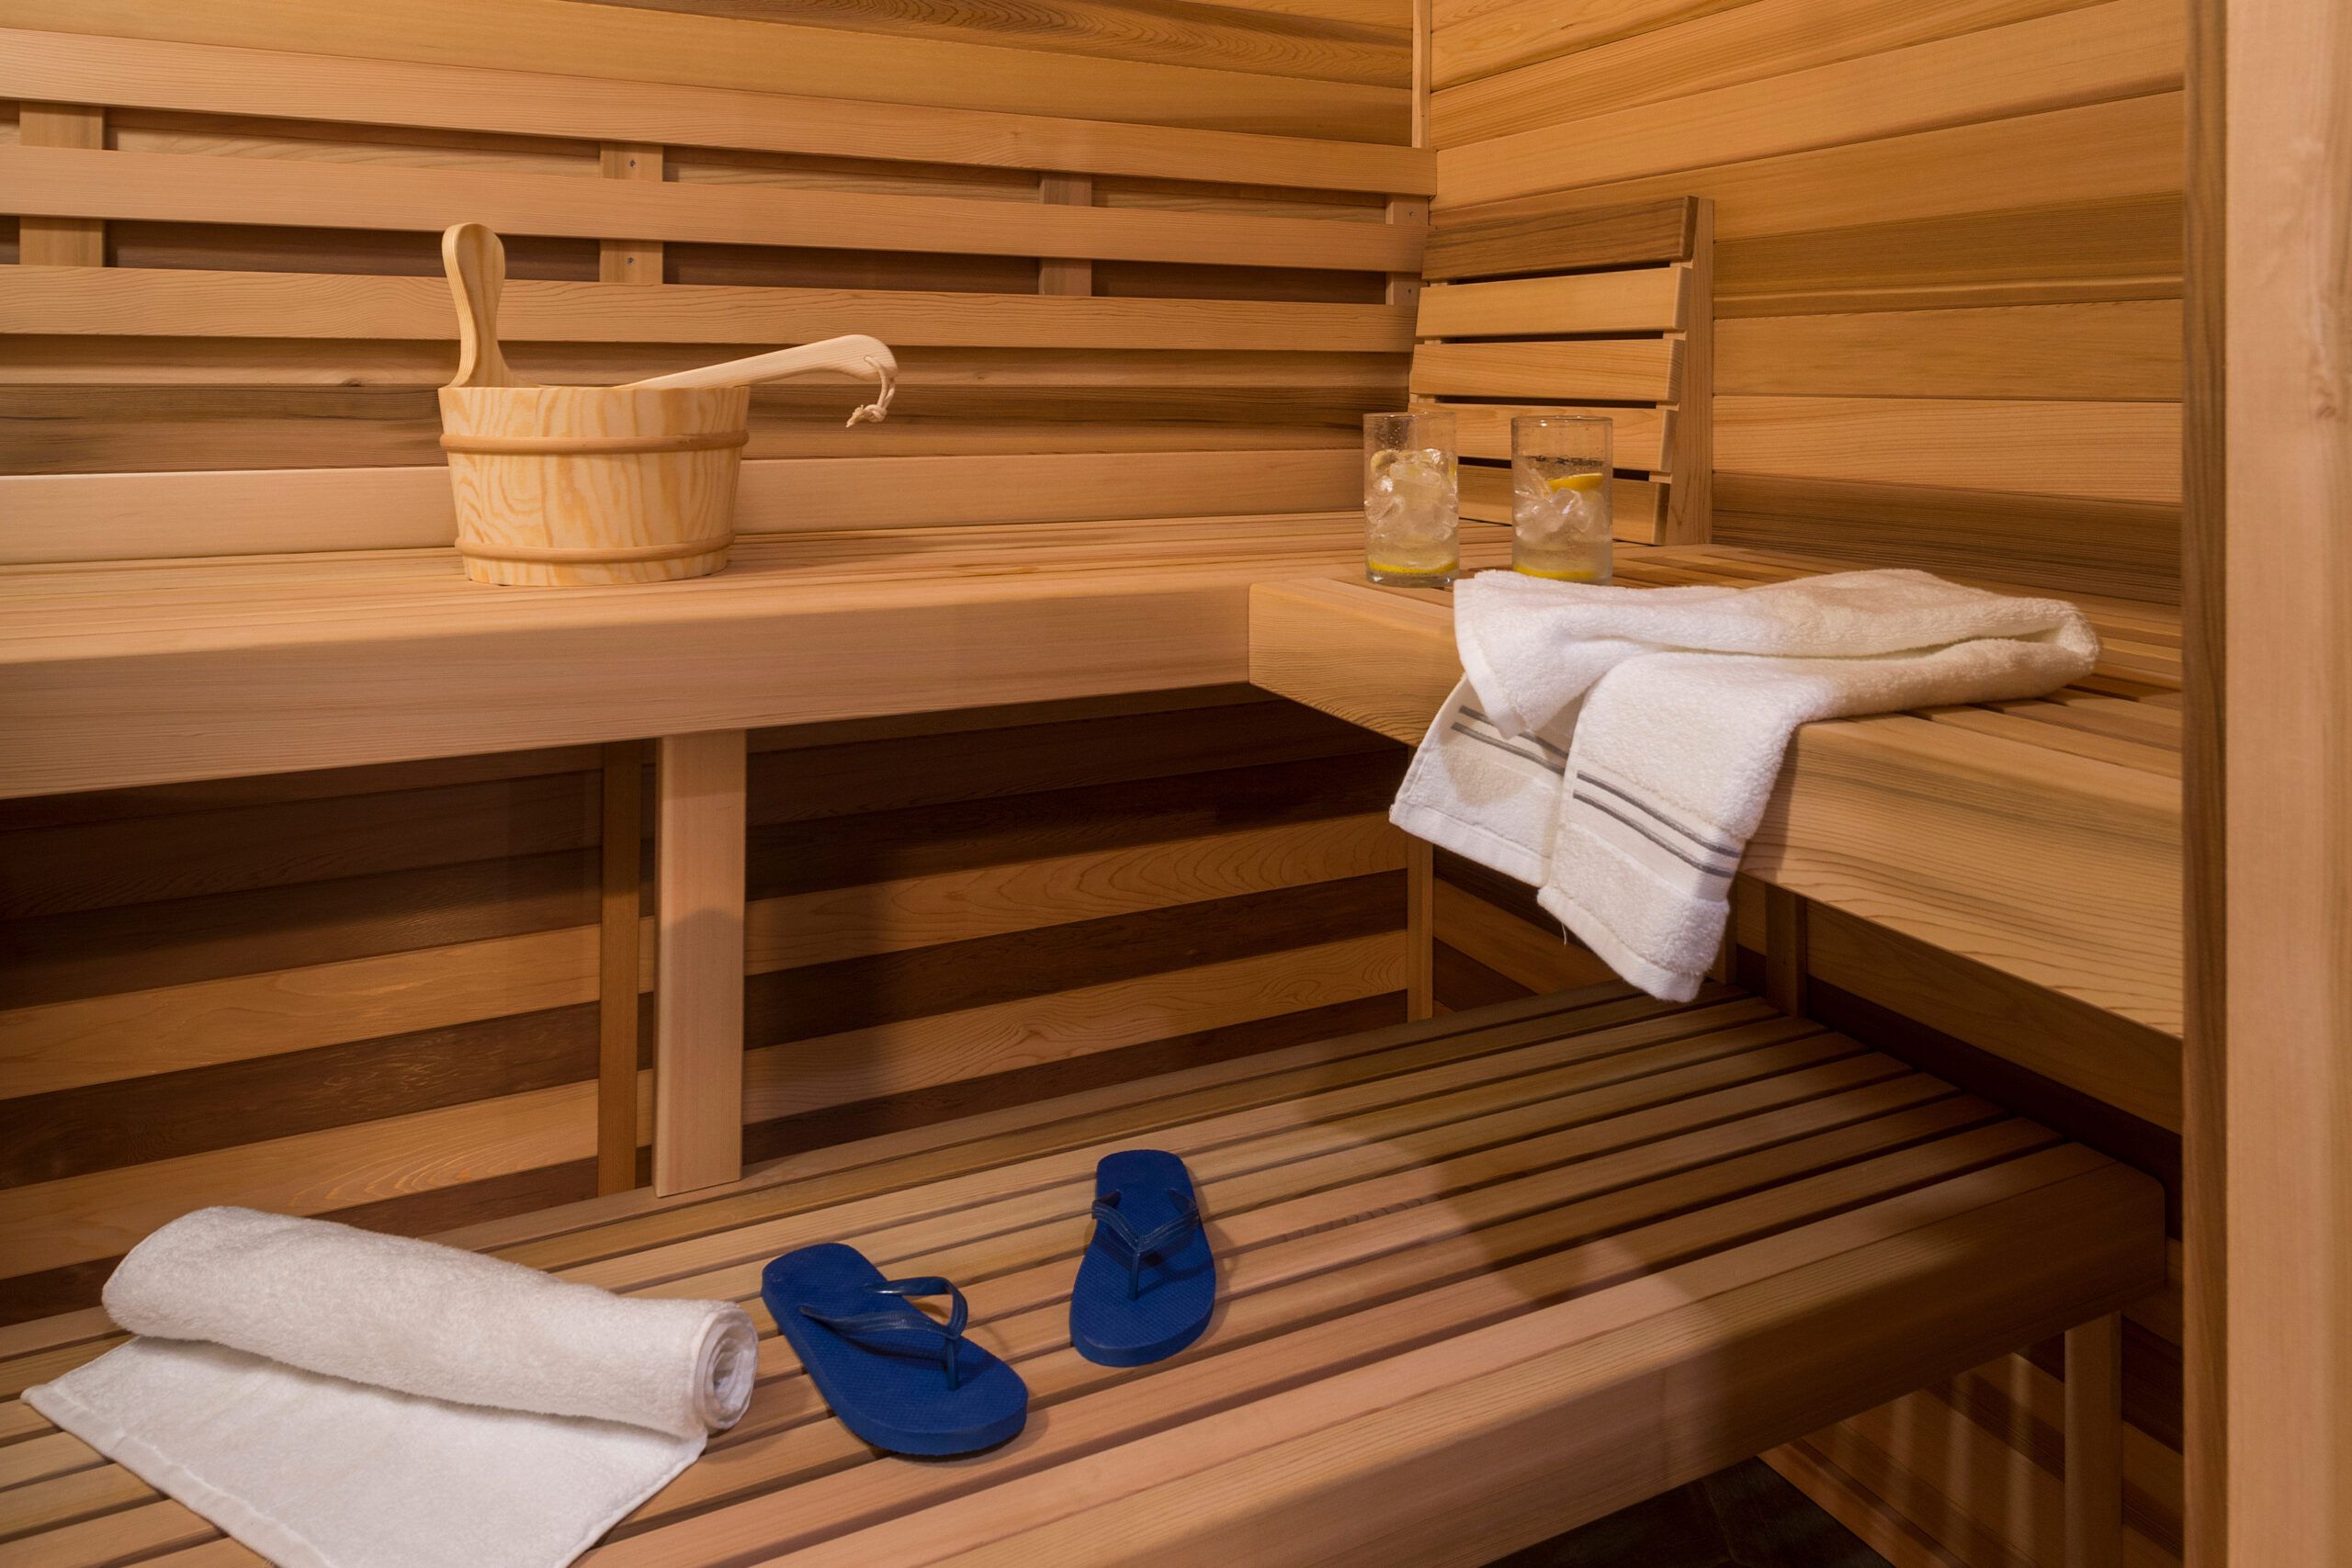
Once the heater was wired, I installed the benches. They just slid onto pre-mounted supports. Easy peasy. Added the wooden floor grate thingy inside. Put the rocks into the heater cage – washed them first like the instructions said. Attached the door handle. Stood back and looked at it. Looked like a proper sauna!
The Moment of Truth
Cleaned up all the tools and packaging mess. Went back to the breaker box, took a deep breath, and flipped the switch on. Went back to the sauna, turned on the heater control. The little light came on. Success! Waited for it to heat up, took about 30-40 minutes. Stepped inside for the first time. That blast of heat, the smell of the wood… totally worth the effort. Sitting there, sweating, knowing I put it together myself? Pretty good feeling, I gotta say. It wasn’t exactly hard, but it took patience and following the steps. Happy I did it.

