How to DIY a Sauna Room? Easy Sauna Room Making Steps
Alright folks, gather ’round! Today, I’m spilling the beans on a project I tackled recently: building my own sauna. Yeah, you heard right. A real, sweat-inducing, relaxation station right in my backyard. It was a journey, let me tell you, full of sawdust, a few choice words, and ultimately, pure satisfaction.
So, where did I even begin? Well, first things first, I needed a plan. I spent a good chunk of time online, scouring websites and forums, looking at different designs. I didn’t want anything too fancy, just a simple, functional space for a couple of people to unwind. I landed on a basic rectangular shape, about 6×8 feet, which seemed like a good size for my needs.
The Foundation: Getting Grounded
Next up, the foundation. This is crucial, you can’t just slap a sauna on the dirt! I opted for a gravel base with concrete blocks as footings. I started by clearing the area, leveling it out as best as I could. Then, I laid down a layer of landscape fabric to prevent weeds from popping up. After that came the gravel, a good six inches or so, compacted down nice and tight. Finally, I set the concrete blocks on top of the gravel, making sure they were level with each other. This was probably the most physically demanding part of the whole project!
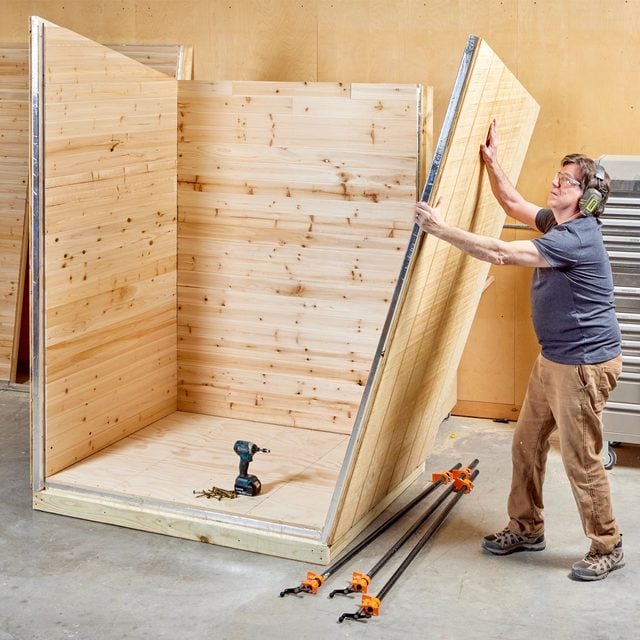
Framing It Up: Building the Bones
With the foundation sorted, it was time to get framing. I used pressure-treated lumber for the base frame, attaching it securely to the concrete blocks. Then, I started building the wall frames using regular lumber. I made sure to leave openings for the door and a small window. This is where a good level and square came in handy. Nobody wants a crooked sauna!
Sheathing and Insulation: Keeping the Heat In
Once the framing was up, I sheathed the exterior walls with plywood. This gave the structure added strength and a surface to attach the siding to later on. Next came the insulation. I used fiberglass insulation batts between the studs, making sure to fill all the gaps. Proper insulation is key for keeping the sauna hot and efficient.
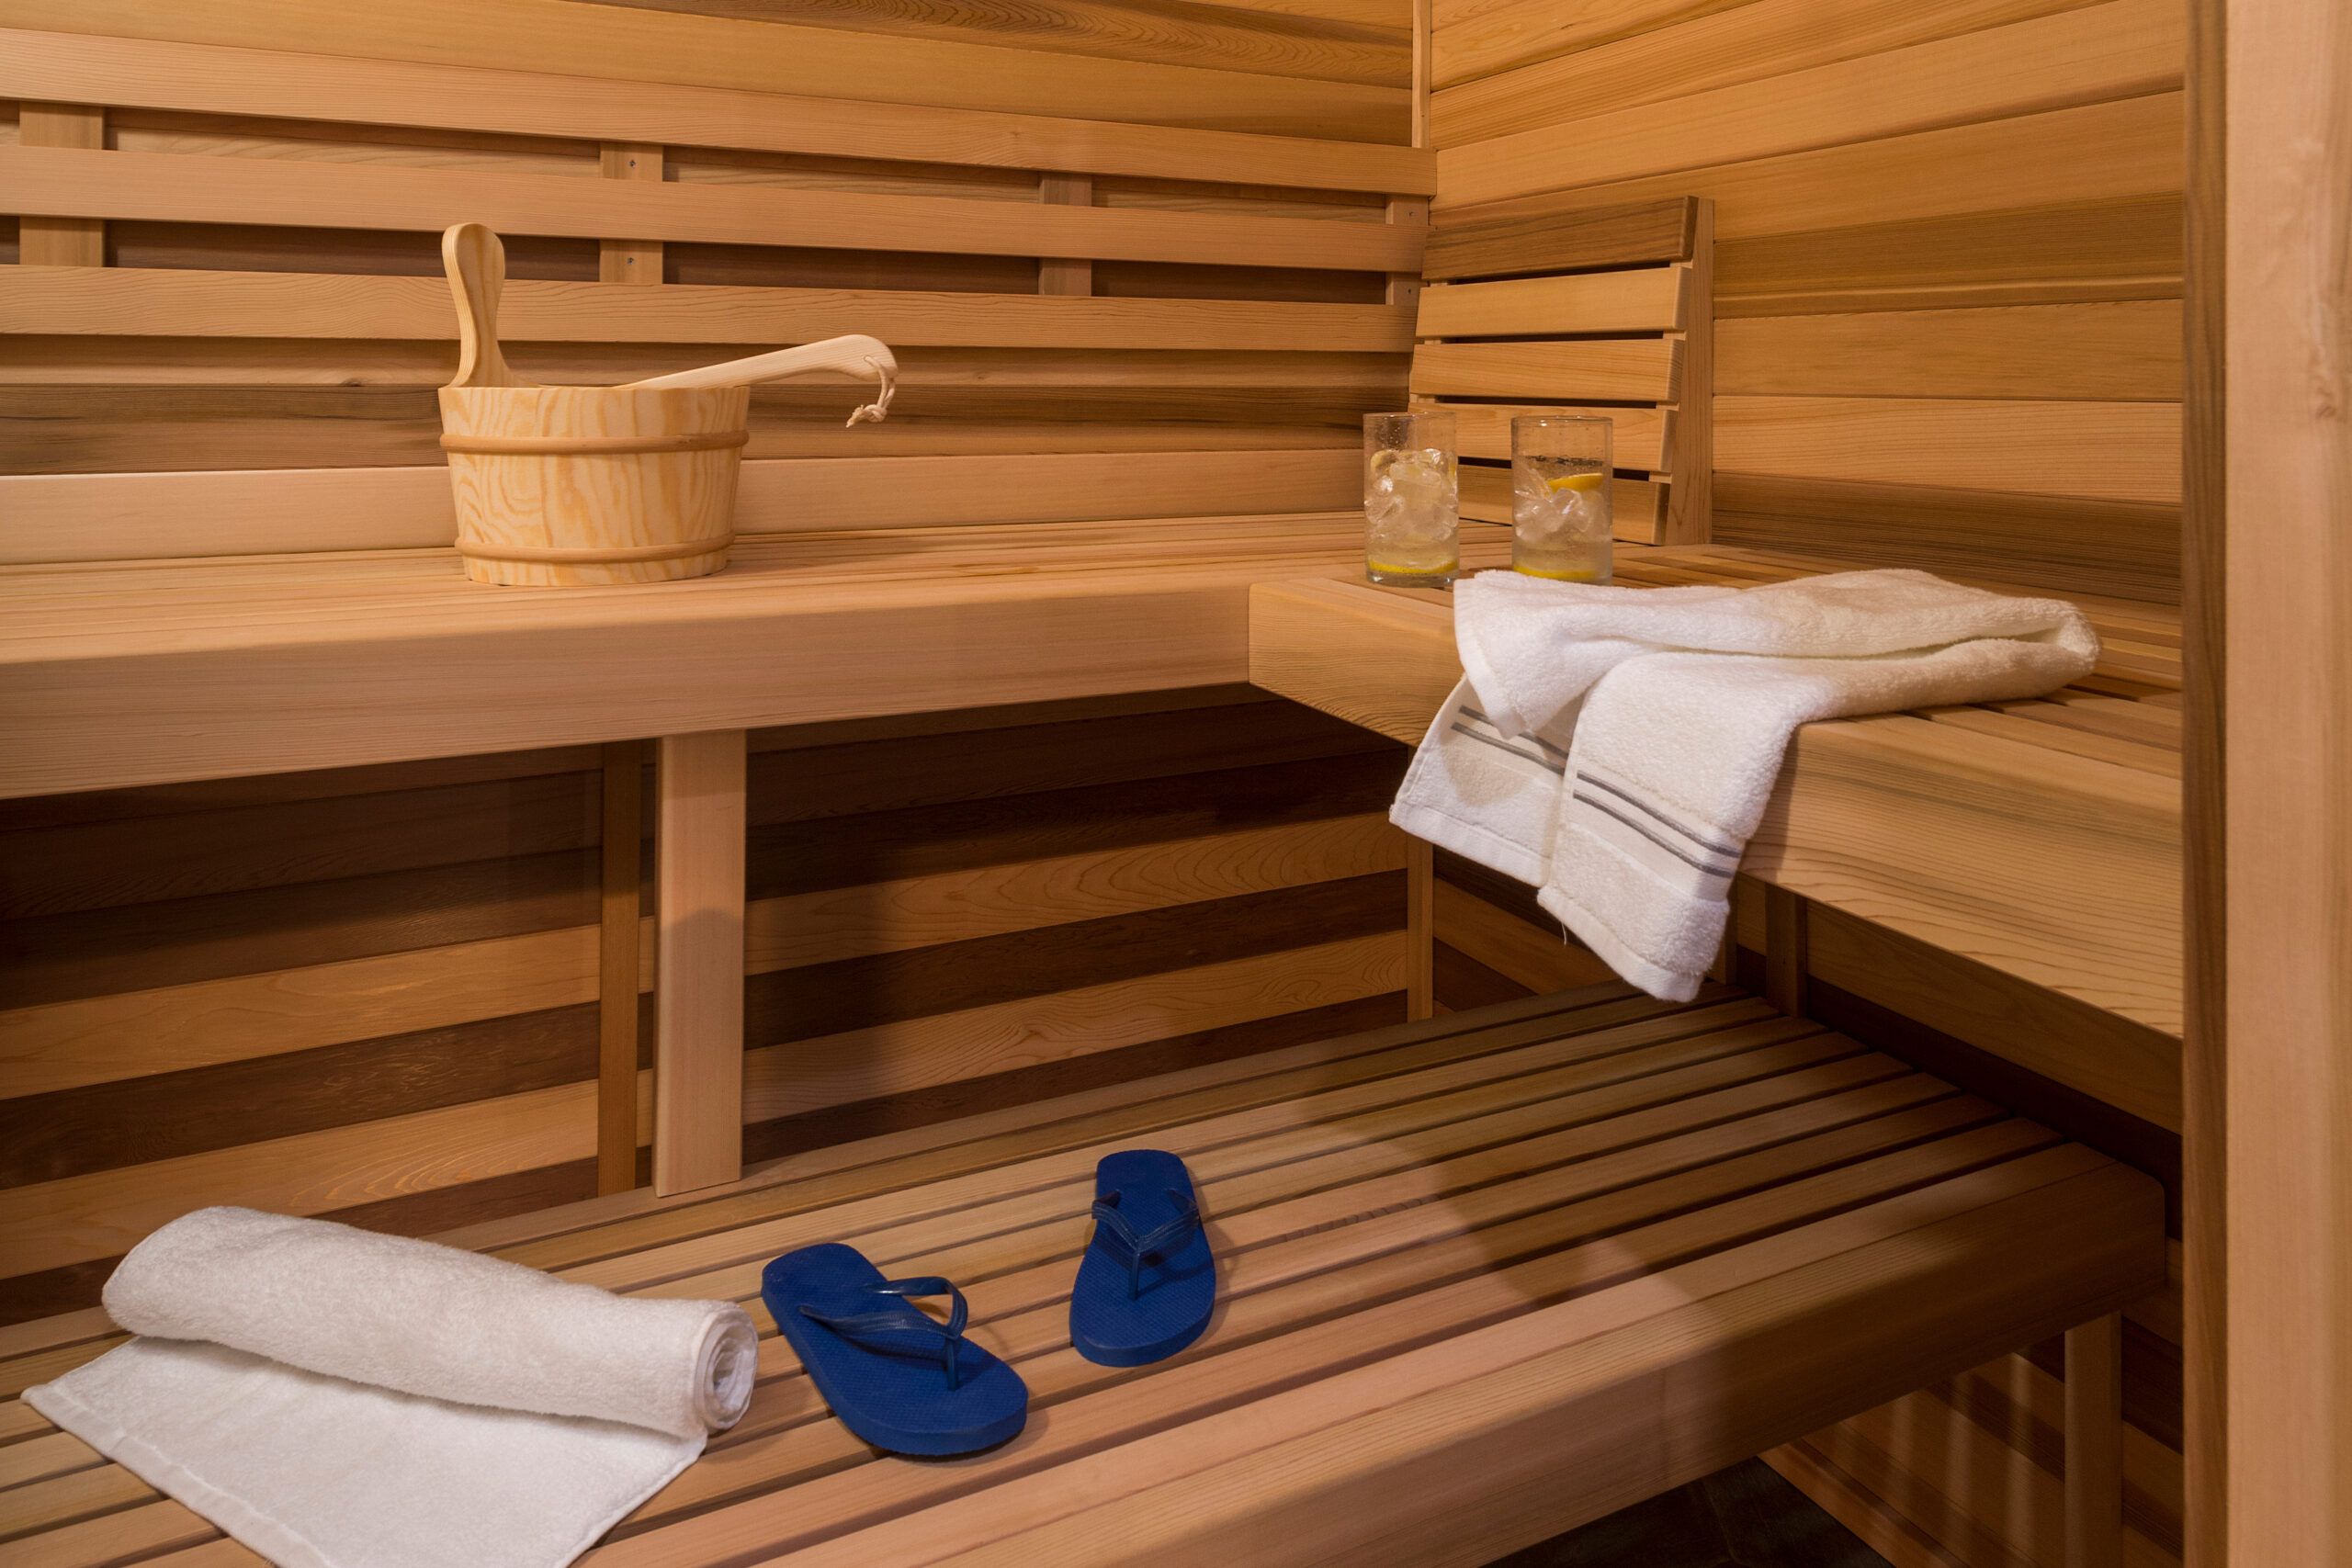
Interior Paneling: The Sauna’s Soul
Now for the fun part: the interior! I chose cedar for the paneling. Cedar is naturally resistant to moisture and has a wonderful aroma when heated. I carefully measured and cut each panel, attaching it to the studs with finishing nails. This was a slow process, but the results were worth it. The cedar gave the sauna a warm, inviting feel.
- Making sure each panel was flush against the previous one.
- Using a level frequently to maintain straight lines.
- Taking my time to avoid any mistakes that would impact the look.
The Benches: Getting Comfortable
No sauna is complete without benches! I built two tiers of benches, using cedar again for its durability and heat resistance. I made sure the benches were sturdy and comfortable to sit on. After all, you’re going to be spending some time relaxing in there!
The Heater: The Heart of the Sauna
And finally, the heater! I opted for an electric heater, as it was the easiest to install in my situation. I followed the manufacturer’s instructions carefully, wiring it up and making sure everything was safe and sound. This is not something to mess around with, so if you’re not comfortable with electrical work, hire a professional!

Finishing Touches: The Details Matter
With the heater installed, it was time for the finishing touches. I added a door with a small window, some exterior siding to protect the sauna from the elements, and a roof to keep the rain out. I also built a small deck in front of the sauna, creating a nice space to cool off after a good sweat.
The First Sweat: Pure Bliss
After weeks of hard work, my sauna was finally complete! I fired up the heater, let it warm up, and stepped inside. The heat enveloped me, the cedar aroma filled the air, and I felt all the stress and tension melt away. It was pure bliss. Building my own sauna was a challenging but rewarding experience, and I wouldn’t trade it for anything.
So there you have it, my sauna building adventure in a nutshell. It wasn’t easy, but with a little planning, some elbow grease, and a lot of patience, you can build your own sauna too. Happy sweating!