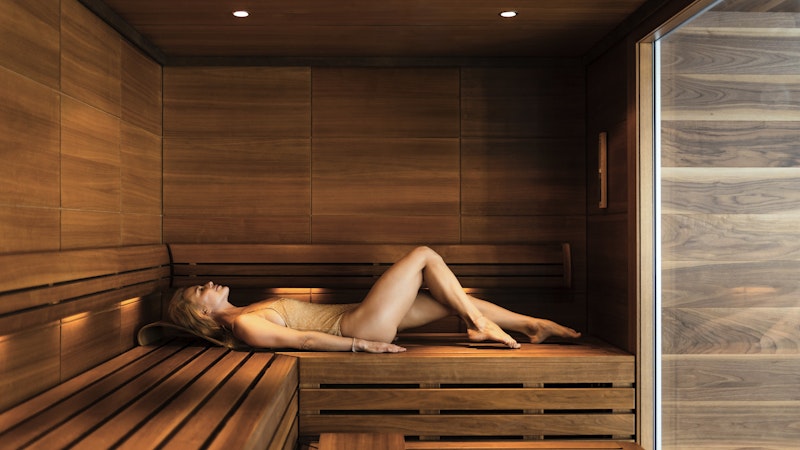
How to use your home sauna room effectively? Simple tips for maximum relaxation and health.
Okay, so I decided I needed a sauna at home. Got tired of feeling chilled to the bone, you know? Plus, the idea of just sweating out the day’s stress sounded pretty good. Didn’t want anything too fancy, just something that worked.
Getting Started – The Idea Phase
First thing, I started looking around online. Man, what a rabbit hole. You got these super expensive pre-built ones, infrared this, traditional that, barrel saunas, box saunas. It’s a lot. Some sites make it sound like you just plug it in like a toaster. Others make it seem like you need an engineering degree. I just wanted a hot room, plain and simple. Decided pretty quick a full custom build was out – didn’t have the time or, let’s be honest, the skills for that level of carpentry. A kit seemed like the way to go.
Picking the Thing
Spent a good week or two just comparing kits. Looked at the wood type – cedar smells nice, but costs more. Hemlock? Spruce? Who knew wood could be so complicated? Then the heater – electric seemed easiest. Had to figure out the power requirements. That was a bit of a headache. Checked my breaker box, measured the space I had in the basement corner. Didn’t want something huge, just enough for me and maybe one other person. Finally settled on a two-person infrared kit. Seemed like less hassle with wiring compared to a traditional electric heater, and quicker heat-up times sounded good to my impatient self.

The Arrival and Setup
Ordering it was easy. Waiting for the delivery, less so. It came on a big pallet, heavy as heck. The delivery guy basically dropped it in the driveway and left. Had to unpack it all right there and haul the pieces inside one by one. So. Many. Panels. Looked like a giant IKEA project from hell. The instructions were… okay. Mostly pictures. Lots of screwing panels together. Definitely needed a helper for some parts, lifting the roof panel was tricky.
- Unpacked everything first, laid it out.
- Built the floor base.
- Put up the walls, panel by panel. Lots of clips and screws.
- Lifted the roof on top. Sweated a bit doing that.
- Installed the benches inside. Simple enough.
- Then the heaters – these infrared panels just slotted in place mostly, then wired together. Had to carefully follow the diagram for connecting them to the main power box on the roof.
- Plugged the whole thing into the outlet I made sure was rated correctly. Double-checked that. Messing with electricity always makes me nervous.
Finishing it Off
Once assembled, it looked pretty much like the picture online. Put in the floor grate, the door handle, a little light inside. Didn’t bother with fancy extras like speakers. Just wanted the heat. Stood back and looked at it. Took the better part of a Saturday, with some help.
The First Sweat
Turned it on for the first time. The instructions said wait like 20-30 minutes. It got warm pretty fast. Stepped inside, closed the door. It wasn’t that blast furnace heat you get in some gym saunas, more of a deep, penetrating warmth from the infrared panels. Sat there for about 20 minutes the first time. Felt pretty good, actually. Relaxing. Came out feeling looser, less tense.
So yeah, that’s the story. It wasn’t exactly easy, hauling the bits and putting it together took some effort. But doing it myself saved some cash compared to a pro install. And now, most evenings, I can just pop down to the basement and have a good sweat. Definitely worth the hassle in the end. Gets used way more than I thought it would.
