What are the benefits of getting a Custom Sauna Room? Explore health advantages and home value increase.
Alright, let’s talk about getting this sauna room customized. It wasn’t about just buying a box; I wanted something specific, something that felt right for my space and how I planned to use it.
Getting Started – The Idea and Planning
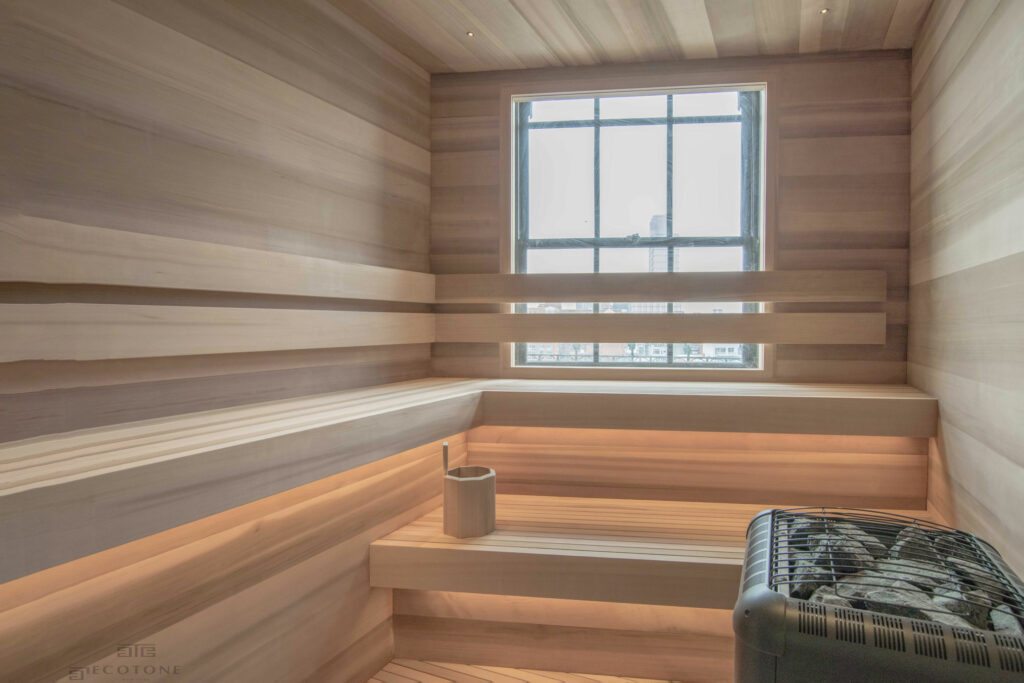
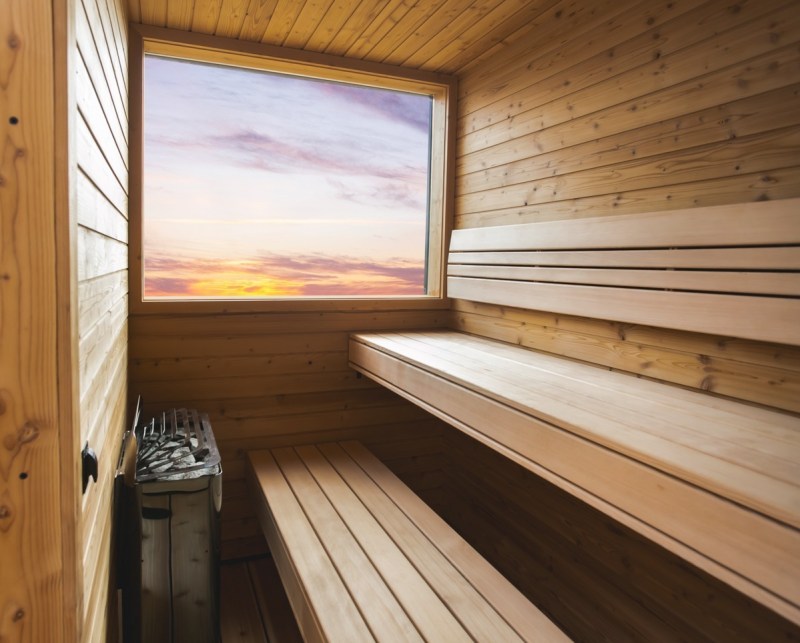
So, first things first, I spent a good chunk of time just looking at the space I had available. Measured it out, probably three times, just to be sure. I sketched out a few layouts on paper – nothing fancy, just rough ideas of where the benches would go, the heater location, the door swing. I knew I wanted two levels for the benches, that classic setup.
I thought about the heater quite a bit. Wood-fired sounds nice and traditional, but honestly, the convenience of an electric heater won out for me. Flick a switch, wait a bit, and it’s ready. Much simpler for regular use.
Gathering the Goods
Next up was getting all the materials together. This took some running around.
- Wood: I decided on cedar for the inside. You just can’t beat that smell, and it holds up well to the heat and moisture. Got tongue-and-groove planks for the walls and ceiling. For the benches, thicker cedar stock.
- Frame: Just standard lumber for the framing structure.
- Insulation: Needed proper insulation rated for high temperatures. Didn’t want to skimp here, wanted it to heat up efficiently.
- Vapor Barrier: Got that special foil-backed barrier. Super important to keep moisture out of the walls.
- Heater: Picked out the electric heater I decided on earlier, making sure it was the right size for the room volume.
- Door: Found a nice pre-made sauna door with a glass panel.
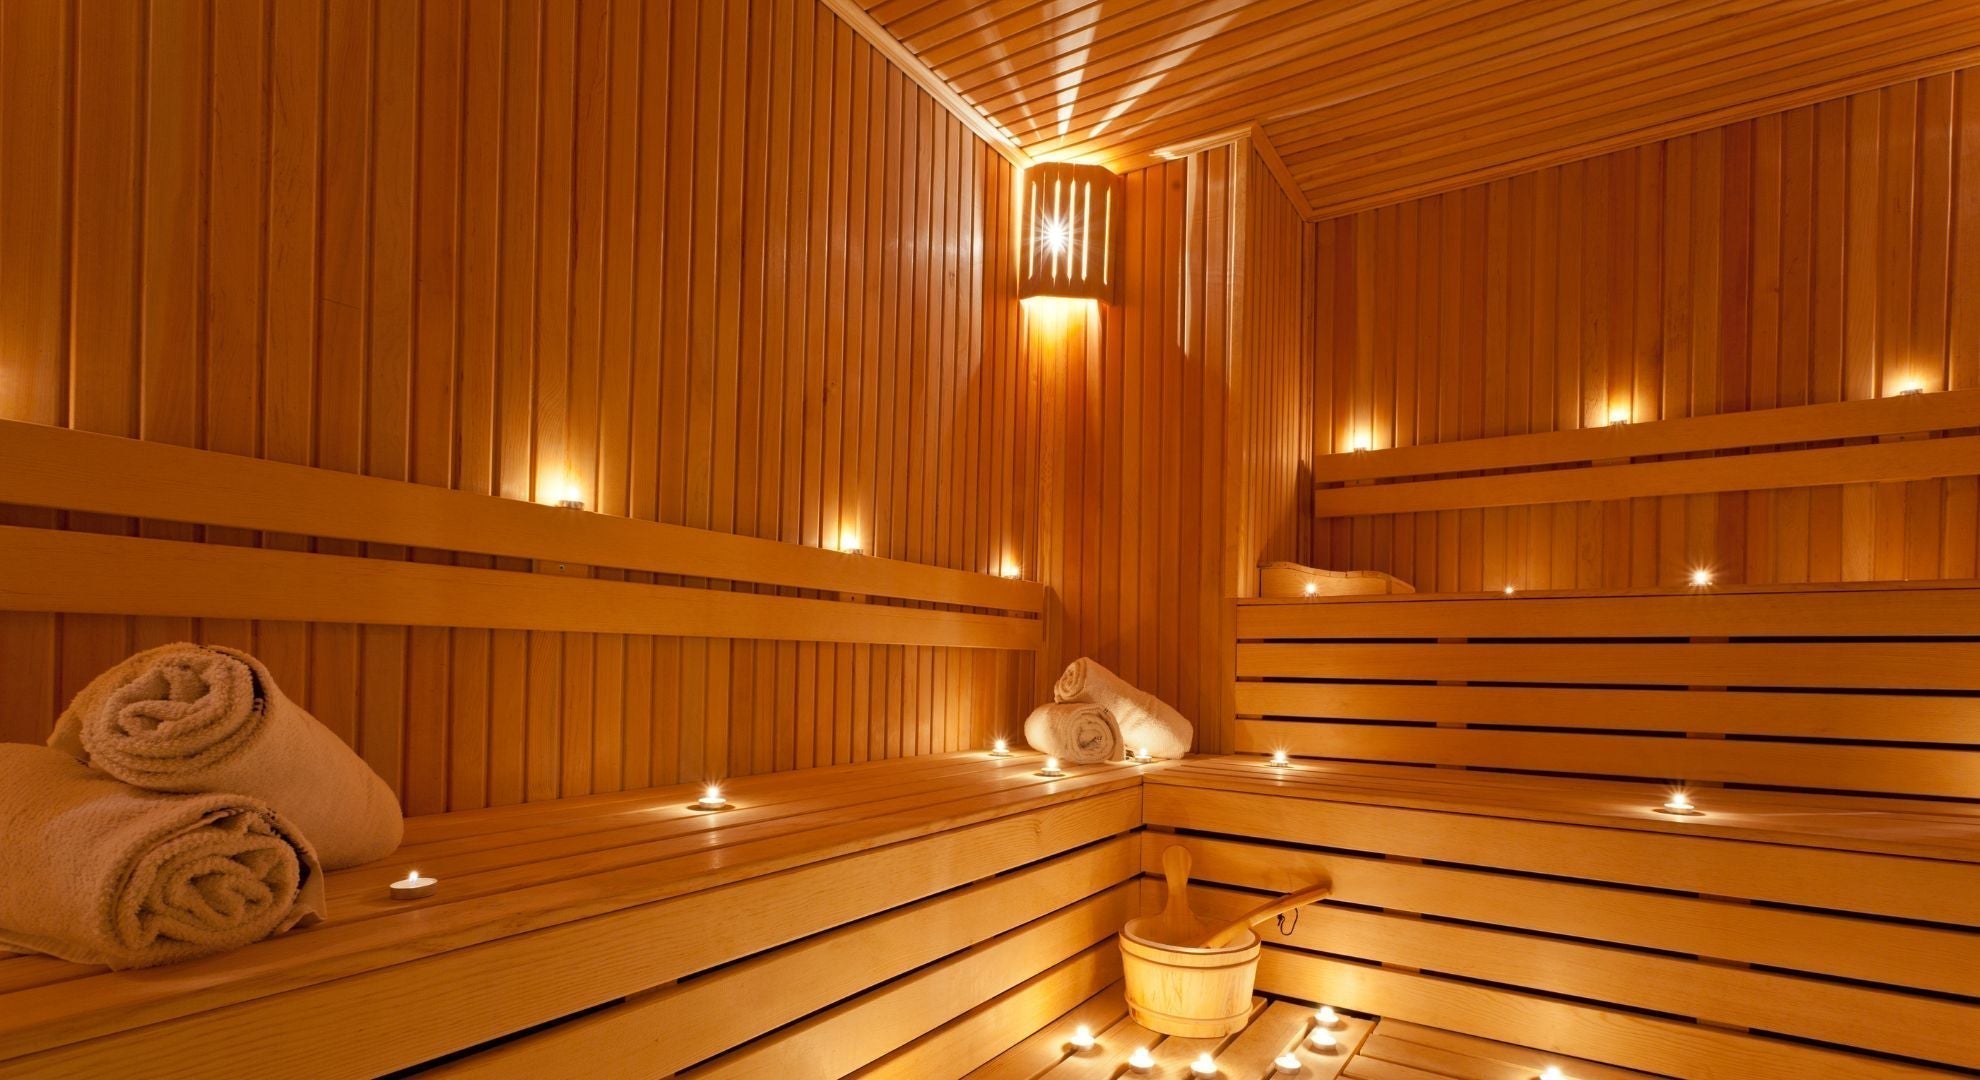
- Extras: Vents, lighting fixtures (heat-rated, of course), fasteners, sauna stones.
The Build Process – Putting it Together
Okay, then the real work began. I started by building the basic frame for the room. Just walls and ceiling joists. Felt good to see the shape coming together.
Then came the insulation. Stuffed it between all the studs, making sure there were no gaps. After that, I carefully installed the vapor barrier on the warm side (inside) of the insulation. Taped all the seams meticulously. You really have to get this part right.
Next was the fun part: putting up the cedar paneling. Started from the bottom and worked my way up. The tongue-and-groove boards clicked together nicely. Took my time to keep everything level and tight. The smell of fresh-cut cedar filled the whole area – fantastic.
Once the walls and ceiling were paneled, I built the benches. Made a lower and an upper level, like I planned. Used the thicker cedar stock for strength and comfort. Sanded everything down really smooth – no splinters wanted in a sauna!
Installed the vents – one low near the heater, one high on the opposite wall for proper air circulation. Wired up the special heat-resistant lighting fixtures. I put them under the edge of the top bench for a nice, indirect glow. Much softer than overhead lights.
Hanging the door was straightforward. Made sure it sealed well but still had the required gap at the bottom for air intake.
Finally, I mounted the electric heater according to the manufacturer’s instructions – followed those very carefully, especially the clearances around it. Filled it up with the sauna stones.
Finishing Touches and First Use
Did a final sweep and cleanup. Stood back and just looked at it for a bit. Felt pretty satisfying seeing it all come together from just an idea and a pile of lumber.
Then it was time for the first heat-up. Turned it on and let it run for a good hour or so, as recommended, to bake off any manufacturing residues. The temperature climbed steadily. Once it was properly hot, I went in for the first real session.
Sitting in there, feeling the heat soak in, smelling the cedar… yeah, that was exactly what I was aiming for. Took some effort, sure, but building it exactly how I wanted made all the difference. Totally worth the work.
