Best sauna heater? Find your perfect fit.
Okay, here’s my take on sharing my sauna heater project, blog-style:
My DIY Sauna Heater Build: From Cold Sweat to Steamy Success
Alright folks, let me tell you about my latest adventure – building a sauna heater. Yeah, you heard right. I decided to ditch the expensive store-bought options and get my hands dirty. It was a journey, let me tell ya, full of sparks, calculations, and a whole lotta learning.
So, first things first: the “why.” My old sauna heater crapped out. It was some generic brand, nothing fancy, and it died a slow, painful death over a couple of months. I got a quote for a replacement, and nearly choked! I figured, “Hey, I’m pretty handy. How hard can it be?” Famous last words, right?
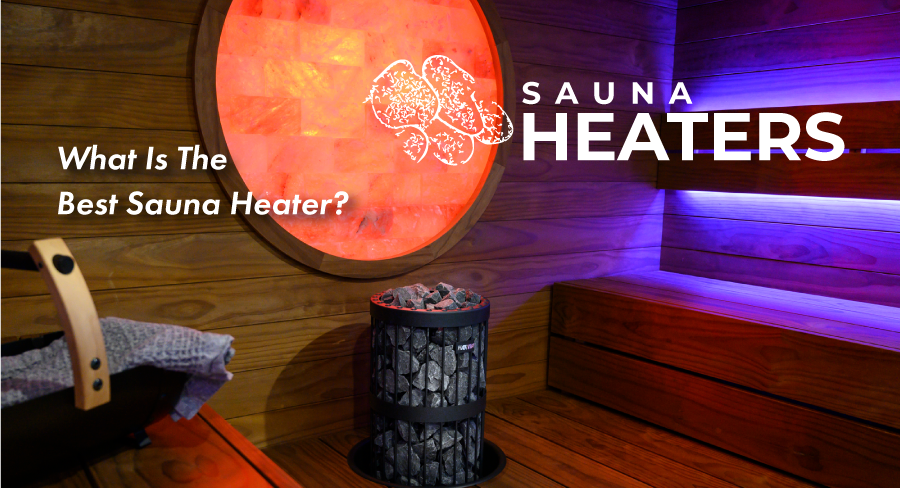
Step 1: Research and Design. This was crucial. I dove headfirst into the internet, reading everything I could find about sauna heaters – how they work, what materials to use, safety precautions, the whole nine yards. I looked at brands like HUUM and Harvia to see what the pros were doing. Learned about kW ratings and how they relate to sauna size. My sauna is roughly 400 cubic feet, so I figured I’d aim for an 8kW heater to be safe and get it nice and toasty.
Step 2: Gathering the Goods. Okay, so I needed heating elements. Sourced those online – made sure they were rated for high temperatures. Then I went to the local hardware store. Steel sheets for the housing, some heavy-duty wire, a thermostat, a contactor (safety first!), and a bunch of nuts and bolts. The steel was a pain to haul, I tell ya.
Step 3: Building the Housing. This involved a lot of cutting, bending, and welding. Now, I’m not a professional welder, but I can lay down a decent bead. I basically built a rectangular box with a grate at the bottom for airflow. This was probably the most time-consuming part. I kept burning myself; welding gloves are a must, people!
Step 4: Wiring It All Up. Okay, this is where things got a little nerve-wracking. Electricity and water don’t mix, so I was super careful. I followed the wiring diagram I found online (and double-checked it… and triple-checked it!). I wired the heating elements in parallel to the contactor, which was controlled by the thermostat. I made absolutely sure everything was properly grounded. I even got a buddy of mine who’s an electrician to give it a once-over before I flipped the switch.
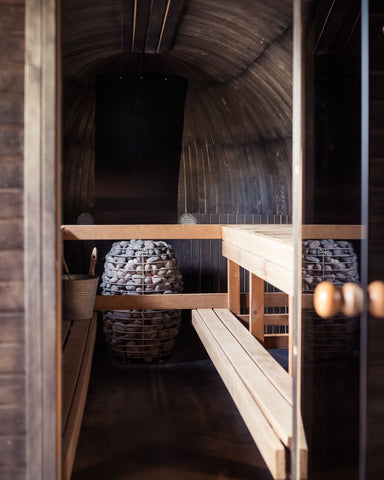
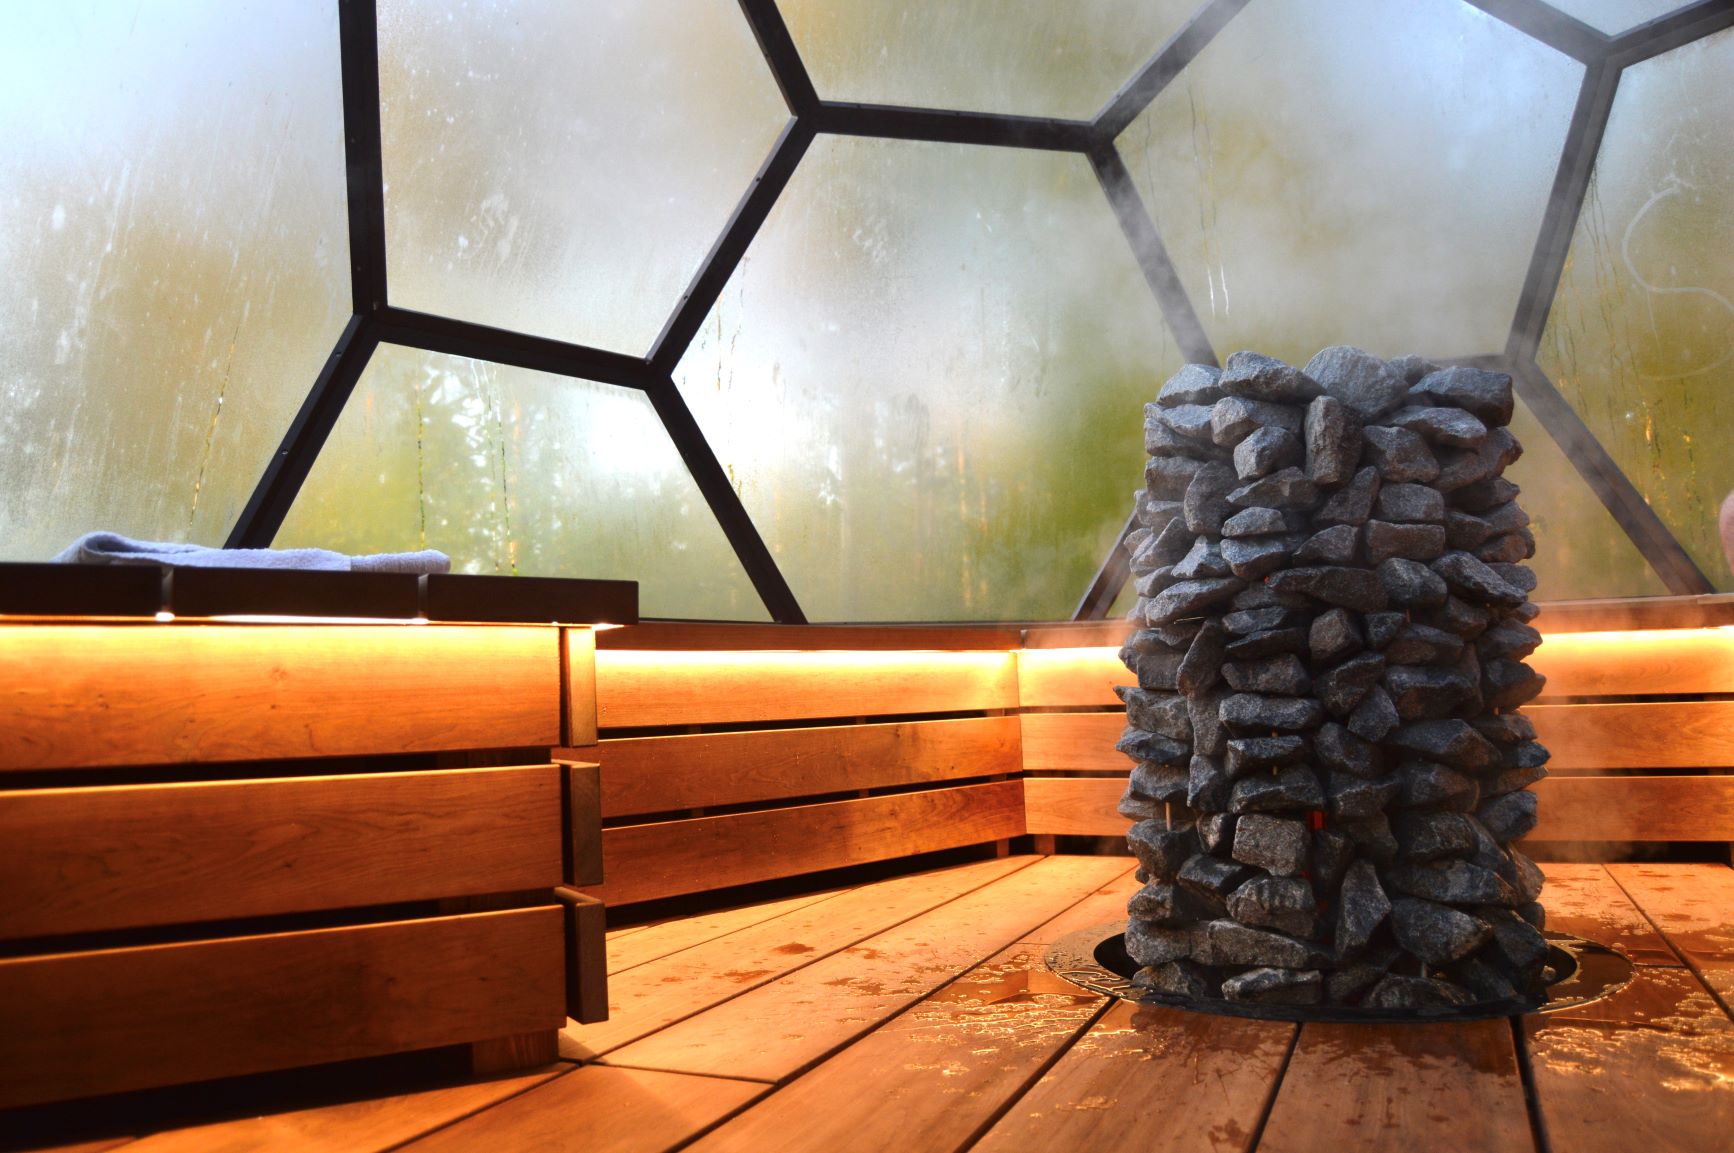
Step 5: The Rock Basket. Saunas need rocks! I built a sturdy basket out of steel mesh to hold the rocks around the heating elements. I made sure the rocks couldn’t fall directly onto the elements themselves.
Step 6: The Moment of Truth. Okay, deep breaths. I hooked up the heater to the power, turned it on, and… nothing. Panic! Turns out, I’d wired the thermostat wrong. Fixed that, and then it worked! The heating elements started to glow red, and heat began radiating out. Victory!
Step 7: Testing and Tweaking. I let the sauna run for a few hours, monitoring the temperature. It got nice and hot – maybe a little too hot. I adjusted the thermostat a few times to get it dialed in just right. And I kept a close eye on everything to make sure nothing was overheating or shorting out.
Step 8: Sauna Time! Finally, the moment I’d been waiting for. I loaded up the rock basket with sauna stones, poured some water on them, and enjoyed a long, relaxing sauna. It was amazing! All that hard work paid off.
- Lessons Learned:
- Plan, plan, plan. Do your research before you start.
- Safety first! Electricity is not your friend.
- Welding is harder than it looks.
- Don’t be afraid to ask for help.
Would I do it again? Probably. It was a challenging but rewarding project. Plus, I saved a ton of money. And now I have a kickass sauna heater that I built myself. Not bad, eh?
Now if you’ll excuse me, I’m going to go sweat out all that stress in my DIY sauna!